How to create a Business email account via SeekaHost.app with a custom domain address?

How to create a Business email account via SeekaHost.app with a custom domain address?
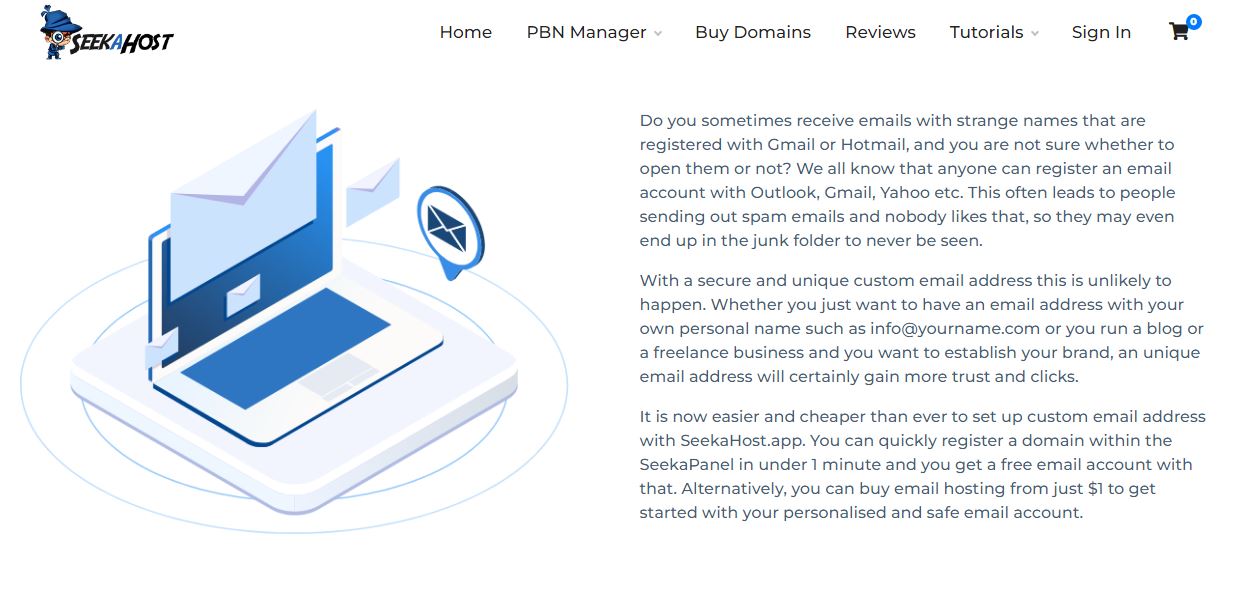
A business email account gives you brand identity as recipients recognize you and trust you.
To ensure your emails don’t get deleted even before it gets opened, you need a business email.
If you are not sure where and how to create a business email, then read this tutorial. In this tutorial, you will learn the steps to create a custom business email via SeekaHost.app with your custom domain.
Let me first tell you the advantages of creating a business email account.
Why Do You Need a Business Email Account?
Do you often delete emails without opening them because they come from an untrusted source?
Yes, you do. This is because such emails are created on Gmail and other free email providers. Emails created on Gmail or other email providers don’t give any authority.
As a result, such emails land in spam.
This could happen to your emails as well. But you could prevent your emails from landing in spam by sending emails with a custom domain address.
For that, you need a domain name.
Once you have registered a domain at SeekaHost.app, you can then create your custom domain email address.
Let’s see how you can do it in simple steps.
Also, you need an email hosting that offers at least one email account and some storage space.
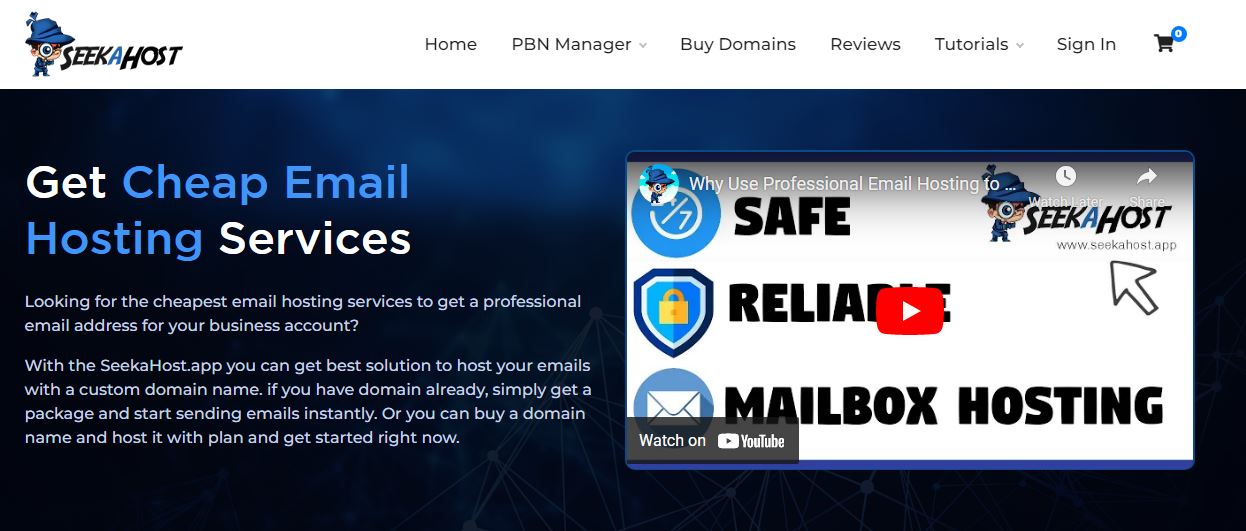
At SeekaHost.app, you can find email plans starting at $1 per month.
How to create a Business email account via SeekaHost.app?
To create a business email account at SeekaHost.app, you need to register a free account. Go to the registration page, and click on Sign up.
Register your free account by entering your name, email, and a quick password. These credentials will be used to log in to the SeekaHost.app control panel.
Once the signup procedure is complete, check your email for a verification link. If you don’t verify your email, your account will get blocked.
After you have verified your email, log in to the SeekaPanel using the same credentials.
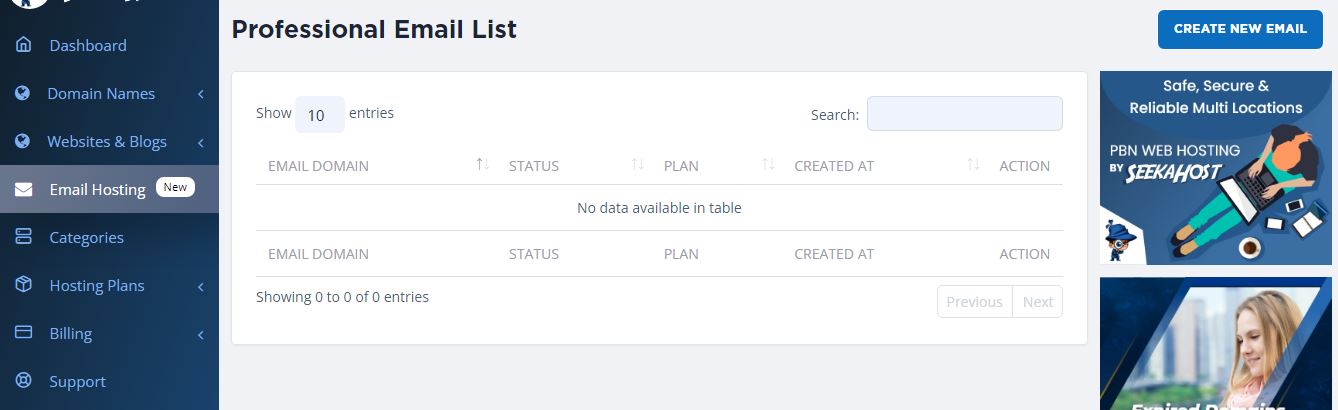
On the left side of the screen, you can see Email hosting. Click on it to create a new business email.
Since you don’t have any email hosting plans purchased, the system will show you different plans.
You will see four email hosting plans. The cheapest one is $1 per month with 5 GB of email storage space.
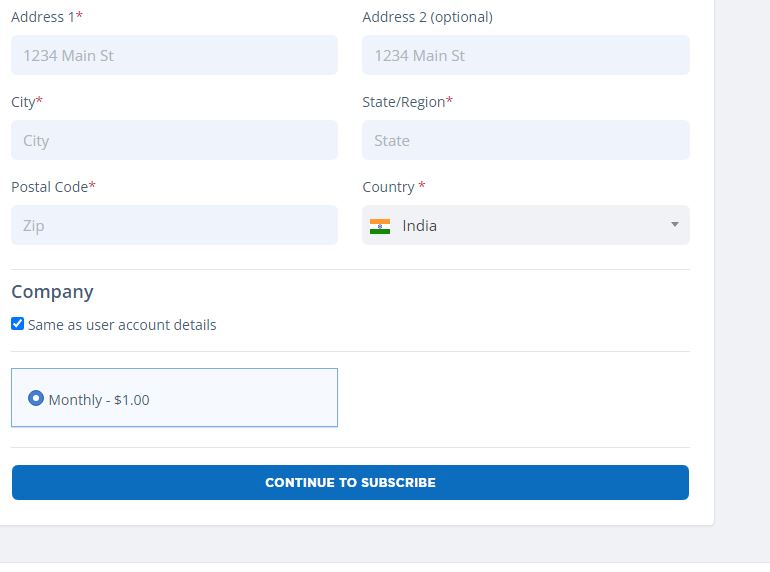
Proceed with any email hosting plan and enter the address. Confirm the plan cost and then proceed with the subscription. Here, I have chosen the $1 per month plan. So the total cost is $1.
Click on Continue to subscribe and proceed with the payment. You can pay via PayPal or credit card. I choose PayPal here.
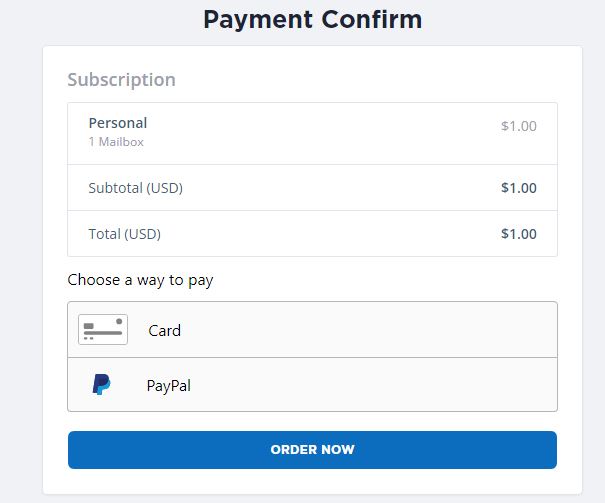
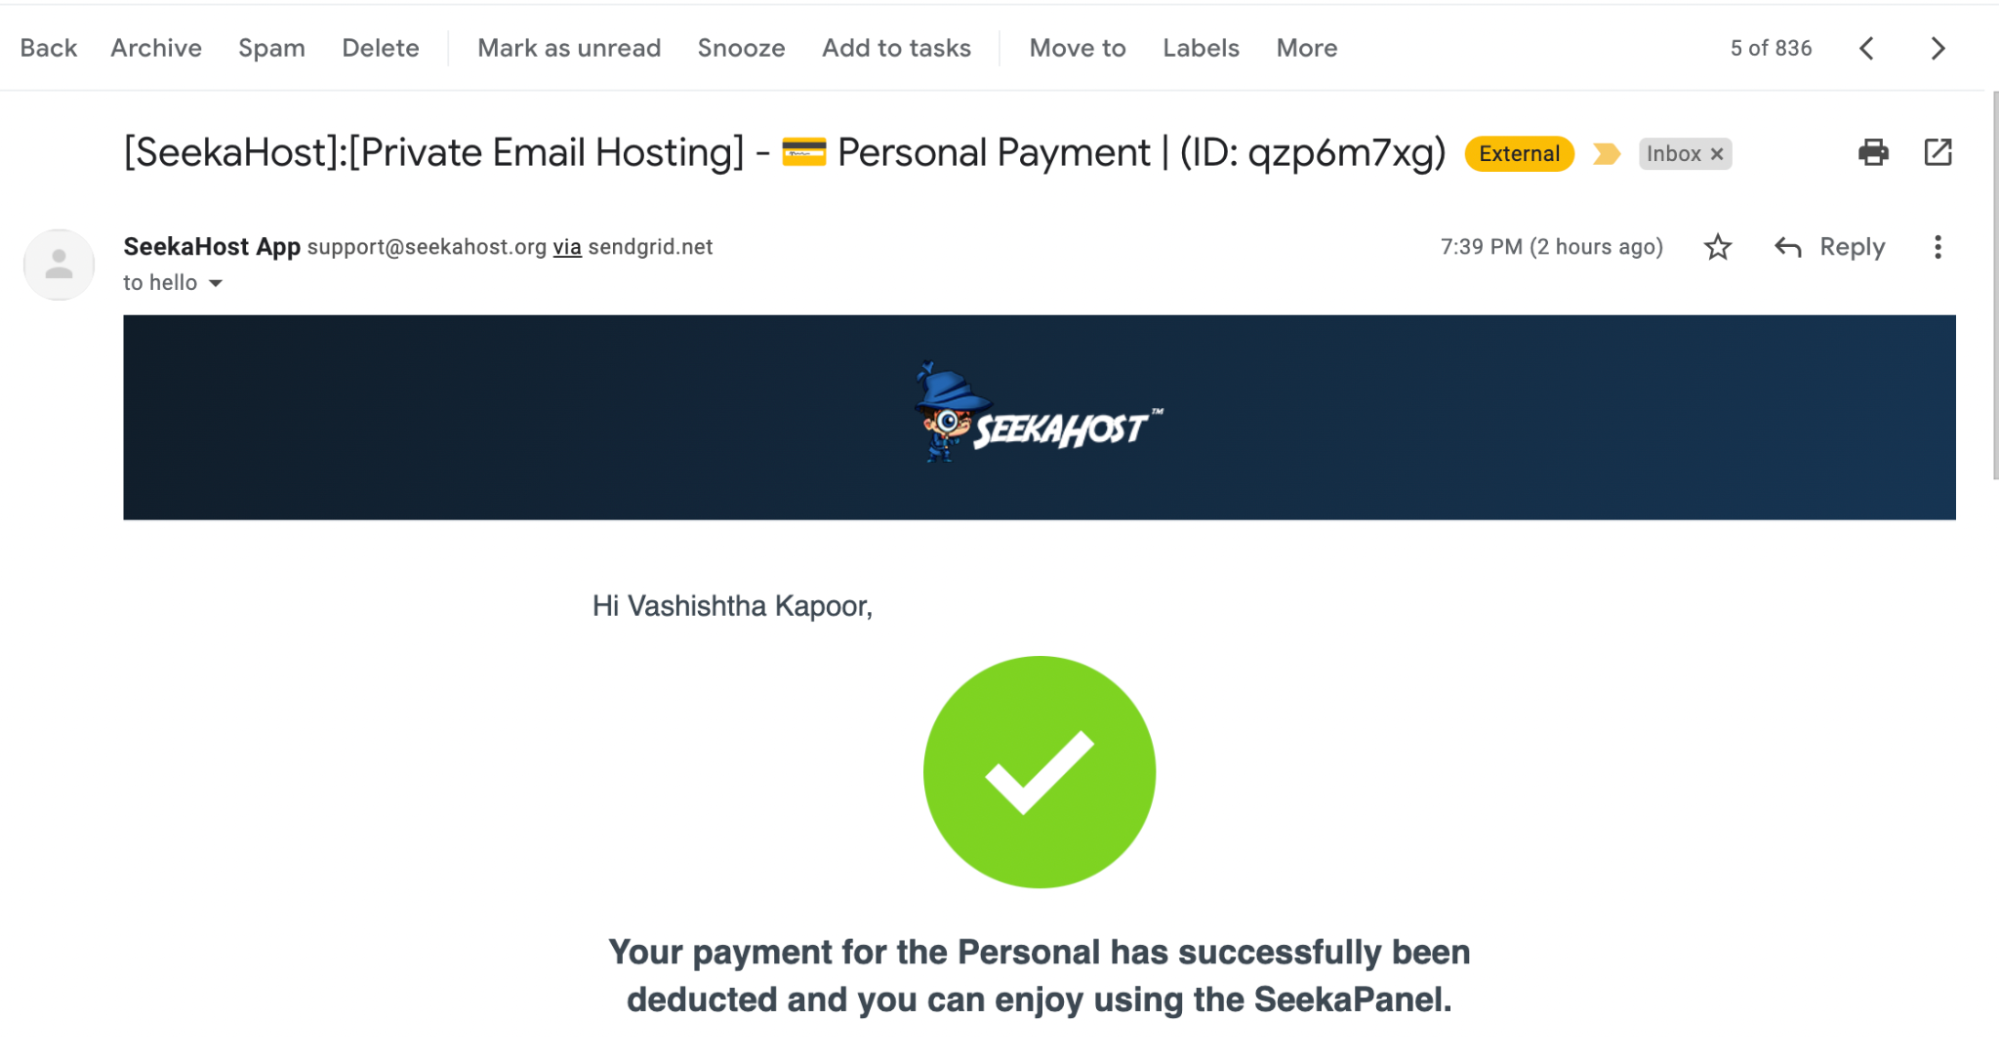
Click on Order now and proceed with the payment. Once the order is complete, you will receive an email at your registered email address with the order information.
With an email hosting plan purchased from the SeekaPanel, you can now proceed with the business email configuration.
Next, follow the steps for business email configuration and start shooting emails.
Steps To Configure Business Email Address
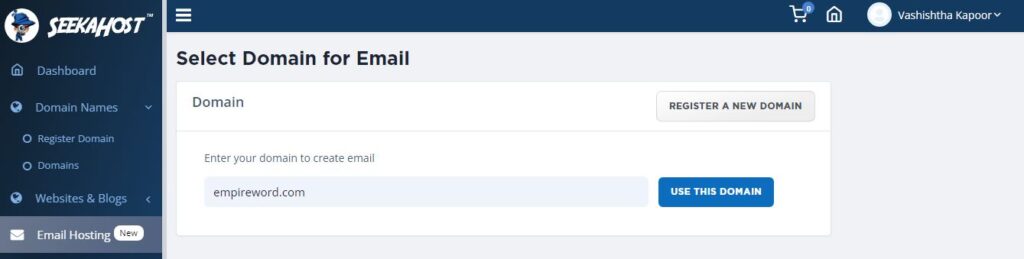
Go to Email Hosting Plan, and click on Create New Email. Now choose the domain on which you want to create a business email. I already have a domain registered at SeekaHost.app, so I will use it.
Click on Use This Domain.
The system will ask you to choose your subscription model. As you can see there’s only one subscription, so choose it and then click on Create.
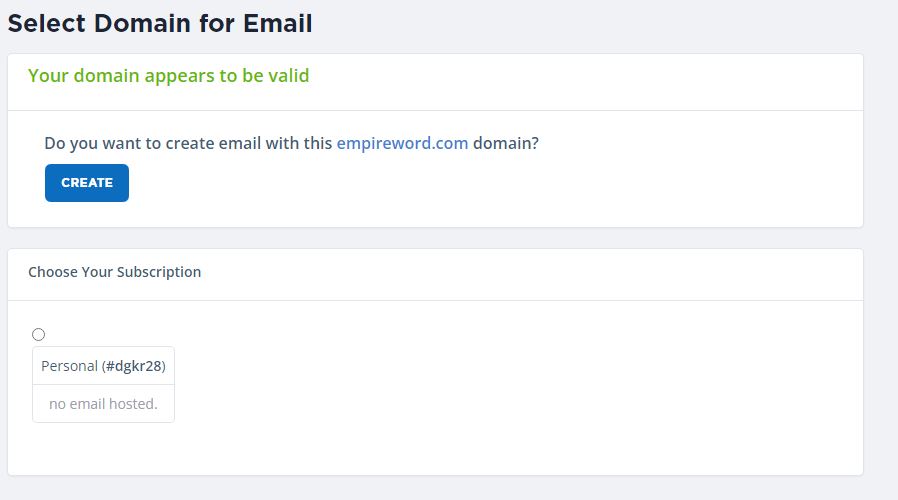
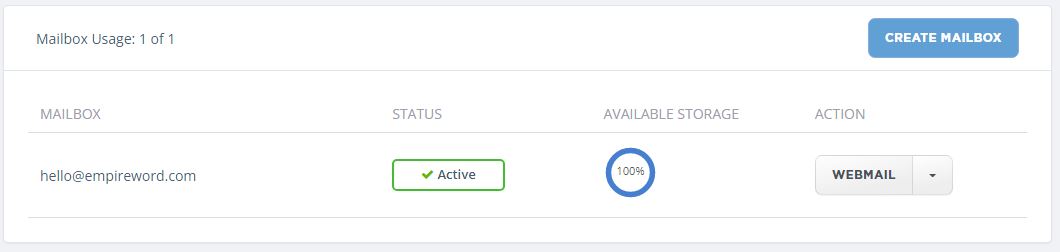
Your business email gets created right away and is also active.
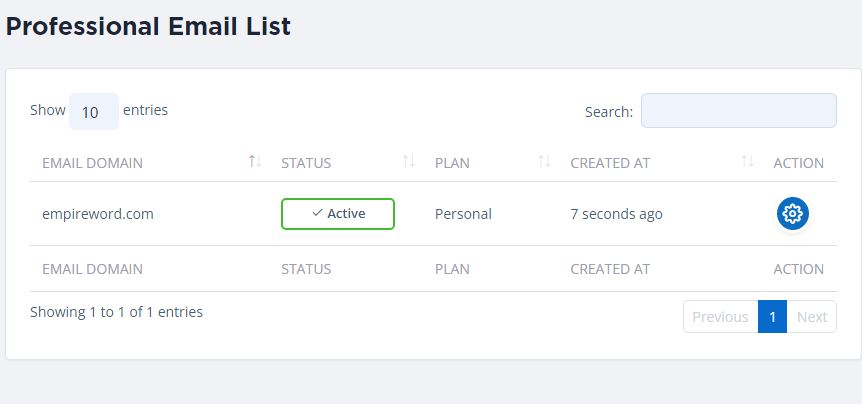
The email creation confirmation is sent to your registered email address.
The next step is to create a mailbox from which you can send and receive emails with your business email account.
Go to Domain, and in the settings, you will find the Mailbox option. Click on Create Mailbox.
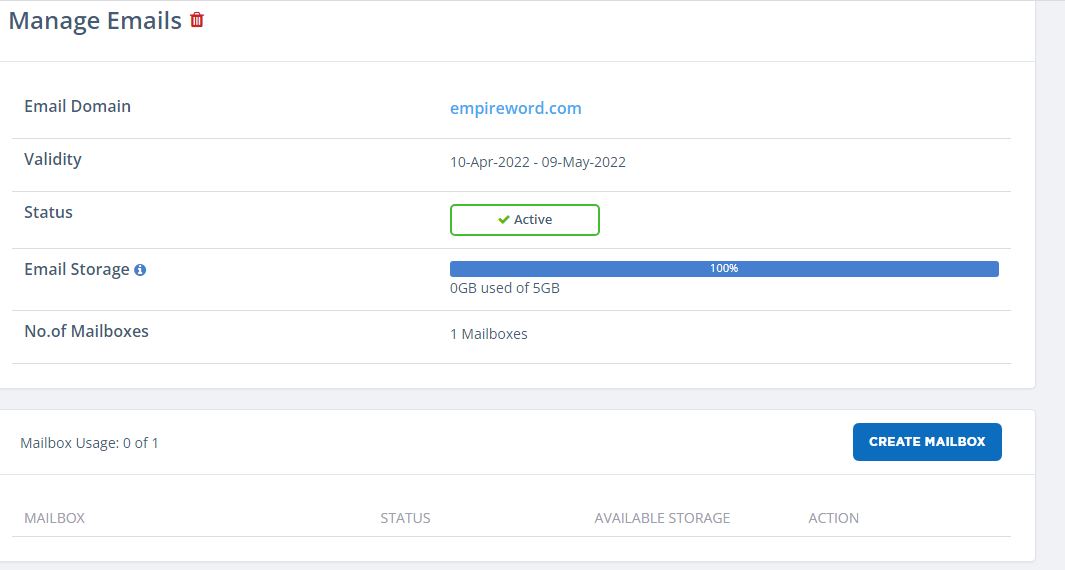
In the Mailbox name, you can enter your preferred mailbox name such as info, hello, etc. When you enter the mailbox name, it would be created like hello@empireword.com and then you also need to set a password.
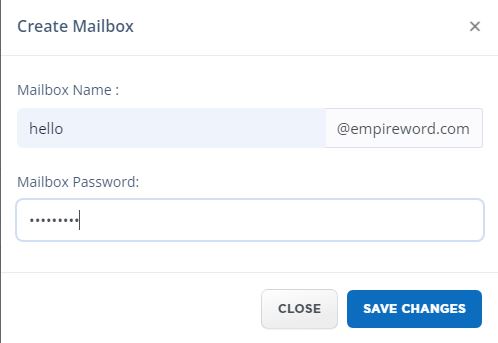
Click on Save Changes, and your mailbox gets created in seconds.
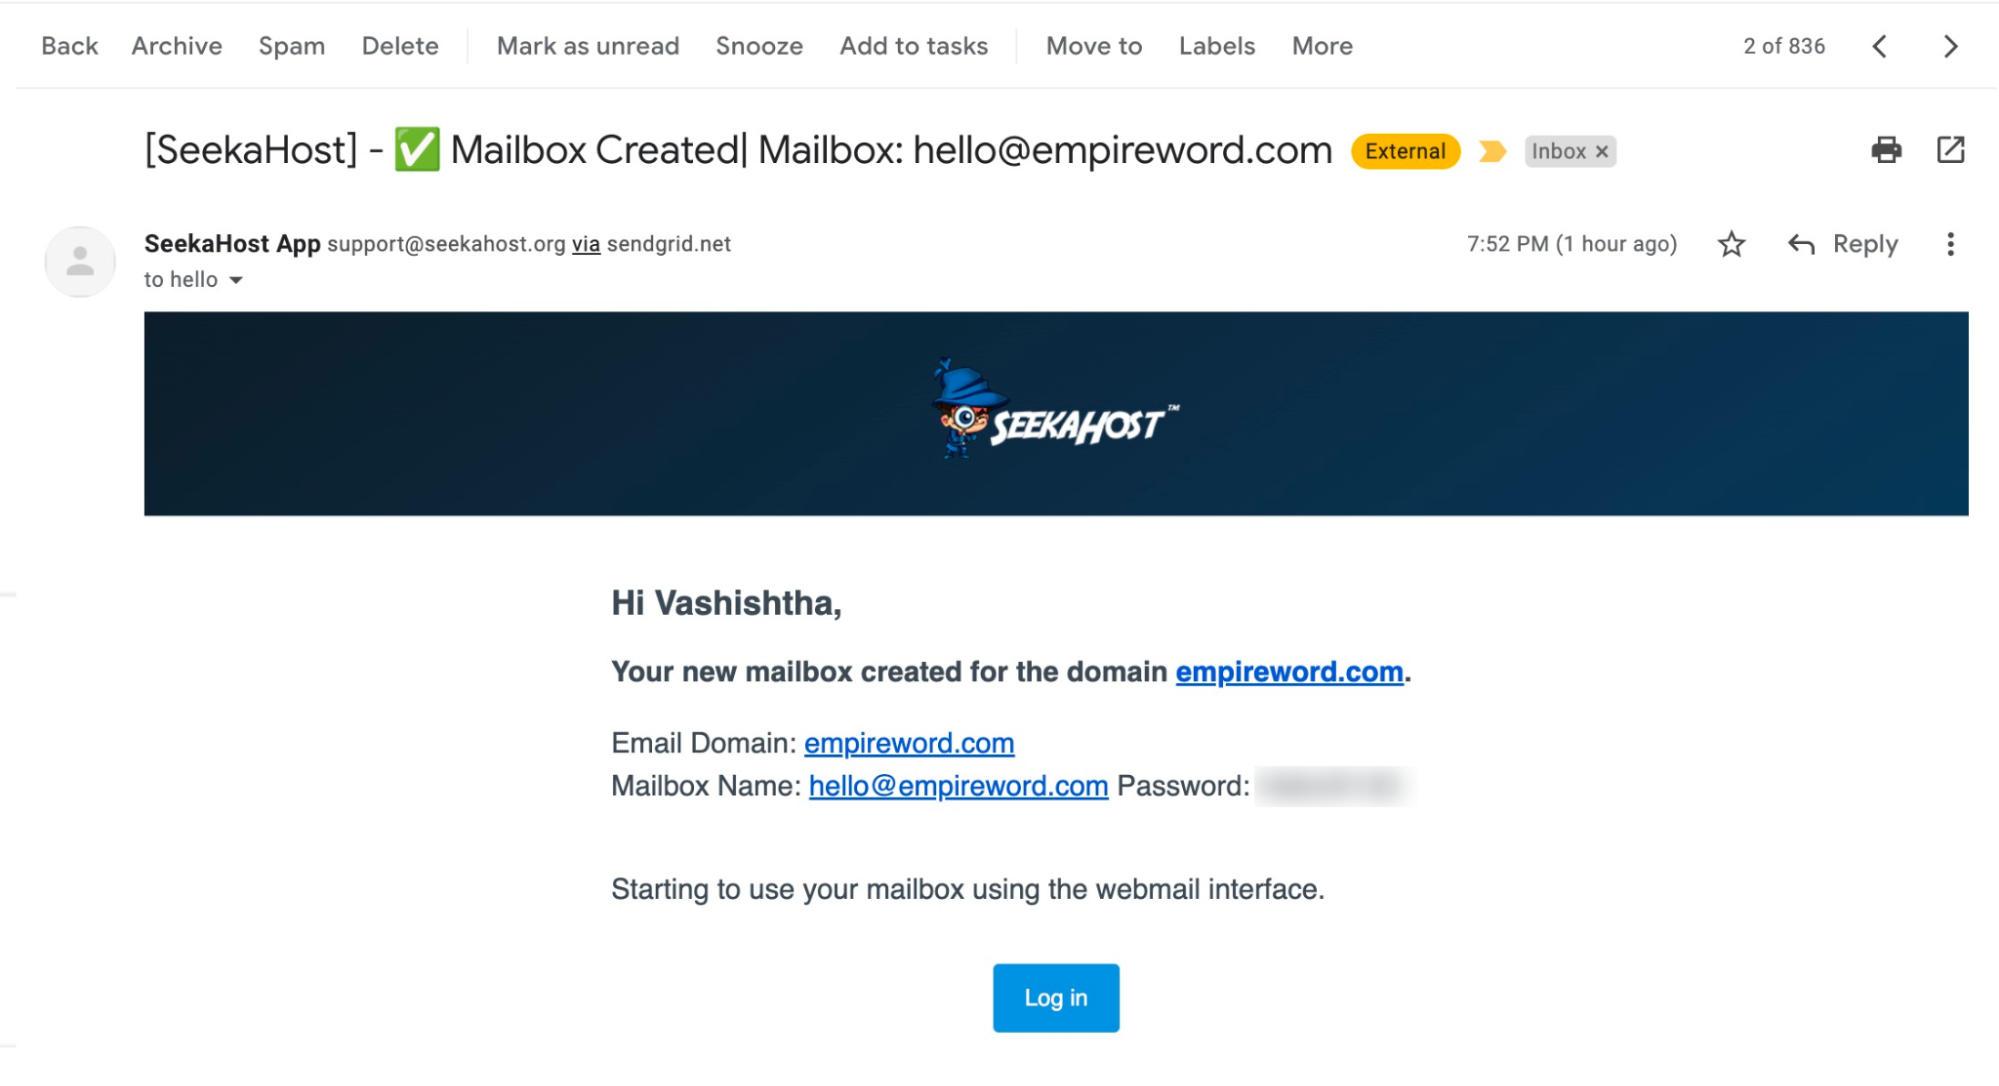
Your mailbox just got created in one click. The mailbox creation confirmation is sent to your email address. The email contains the Mailbox name and the domain on which the business email was created.
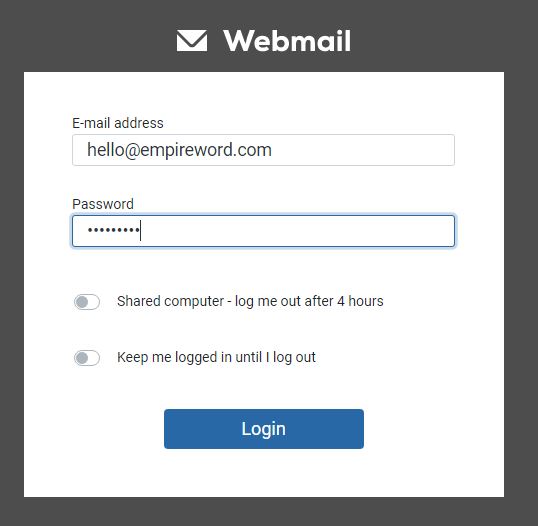
You can now log in to the webmail using the Webmail option.
Use the mailbox name and password to log in to the webmail.
When you log into the webmail, you will see that SeekaHost.app webmail is user-friendly. You can send and receive emails just like Gmail or any other email provider.
.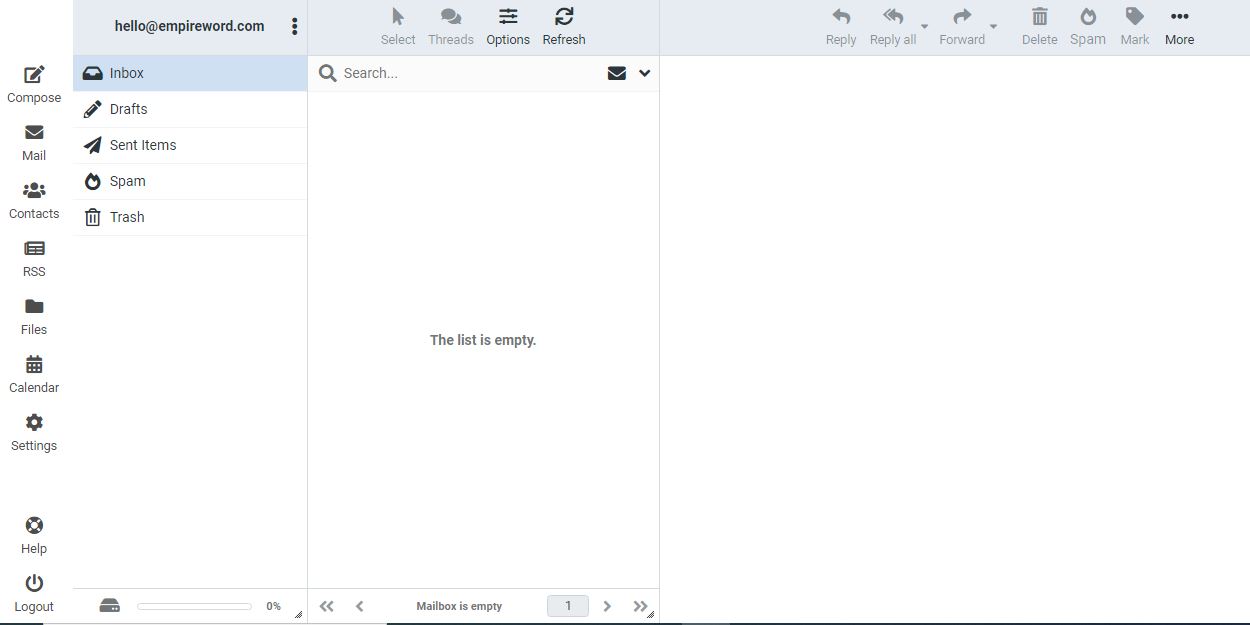
But you won’t receive any emails as the MX record of your domain isn’t configured. This is the very last step for business email configuration.
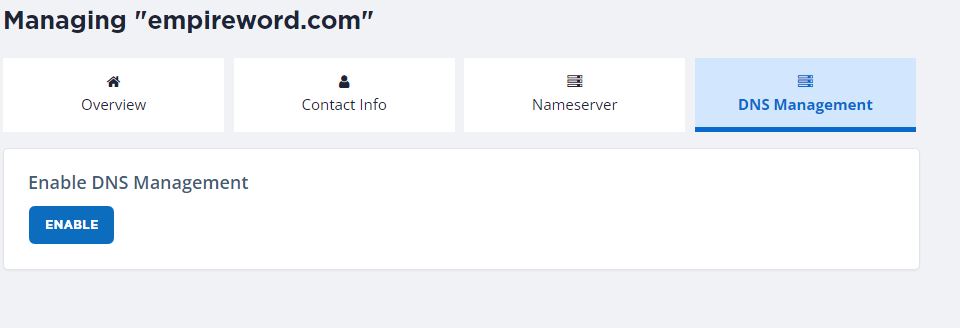
Go to Domains, click on the Action button, and then under the DNS management tab, you can configure the MX record.
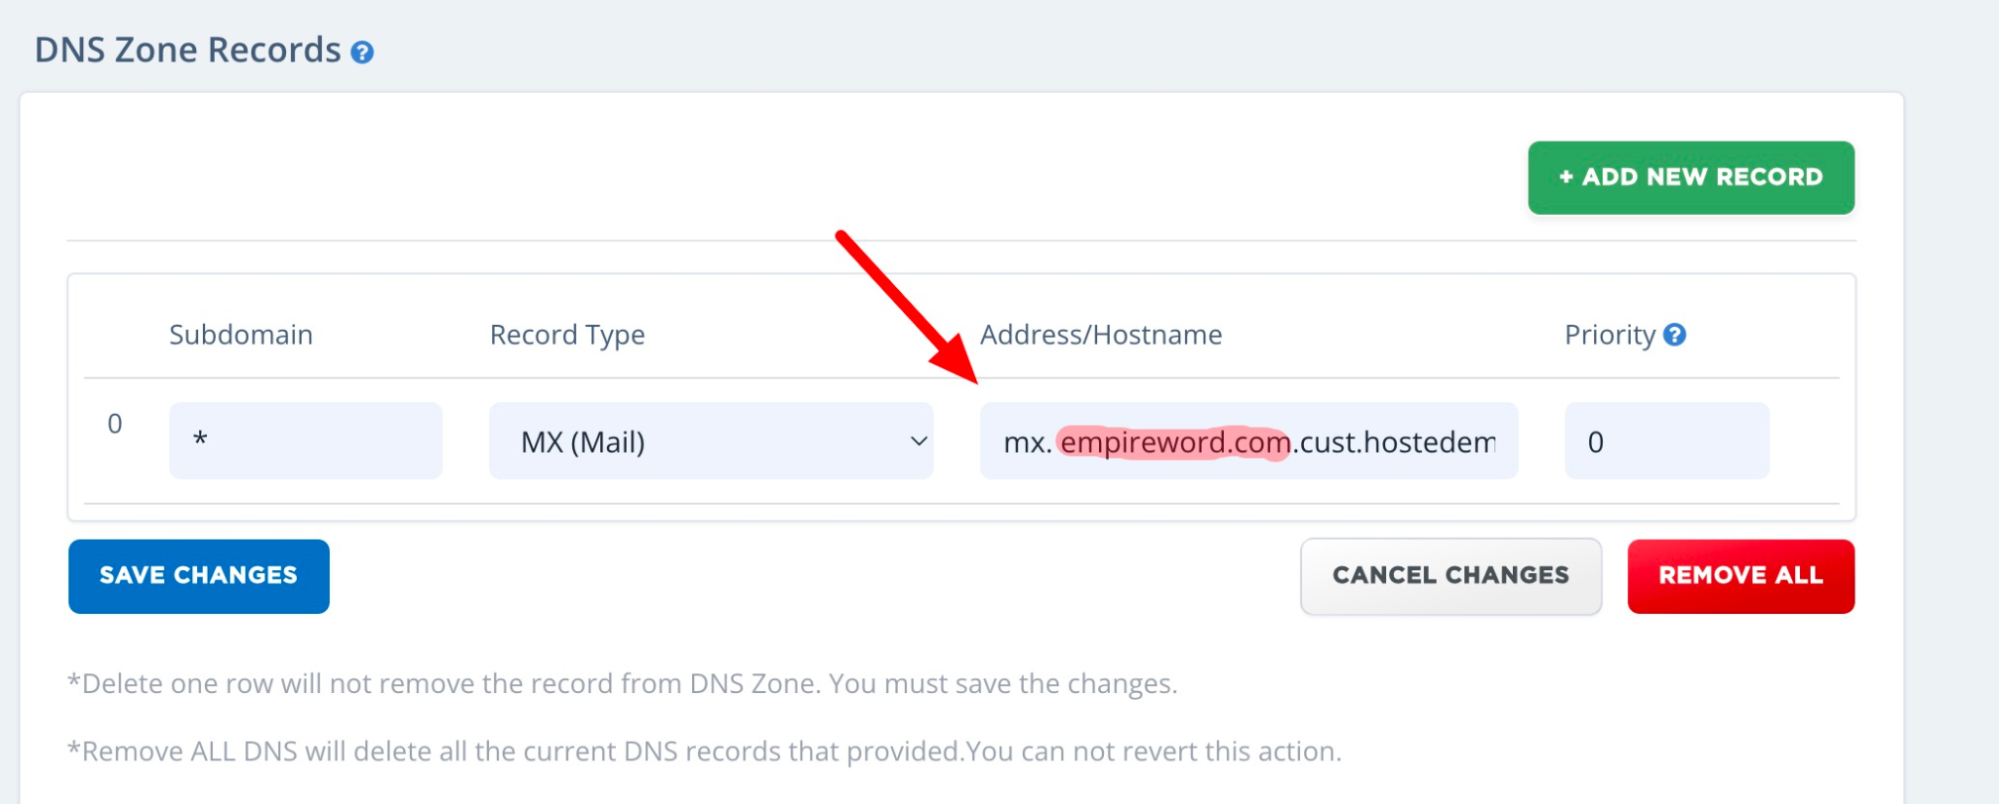
Click on Enable button to edit the MX records for your domain.

Choose the record as MX, enter the hostname and keep priority as 0.
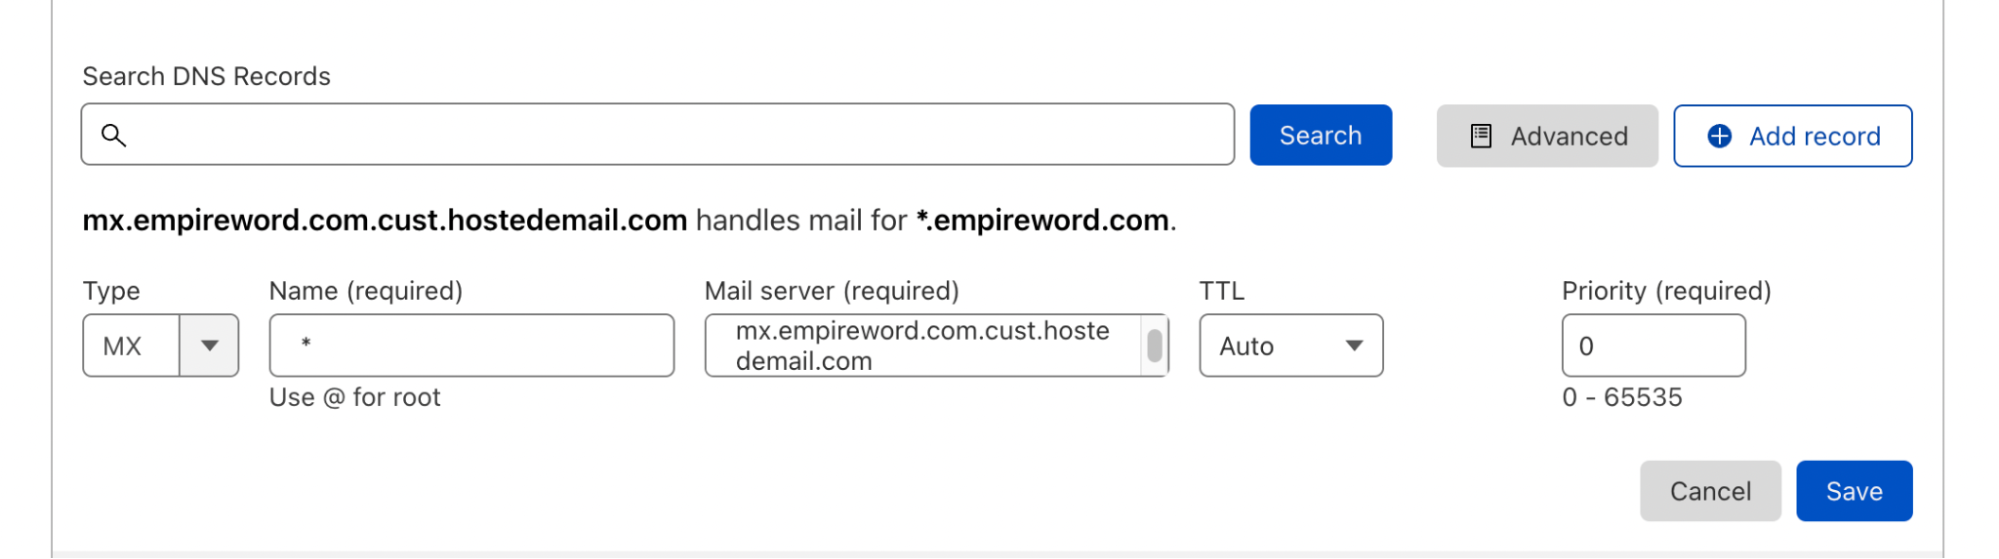
When you edit the hostname, ensure you change the domain name to yours. You can see how I did it. Finally, click on Save Changes and the MX record will be configured. You will now start receiving emails in your business email account.
You can now send and receive emails using SeekaHost.app webmail.
Testing the Business Email Account
Just like you do it in Gmail, click on Compose, enter the recipient email address, and add a subject and the text. Click on Send.
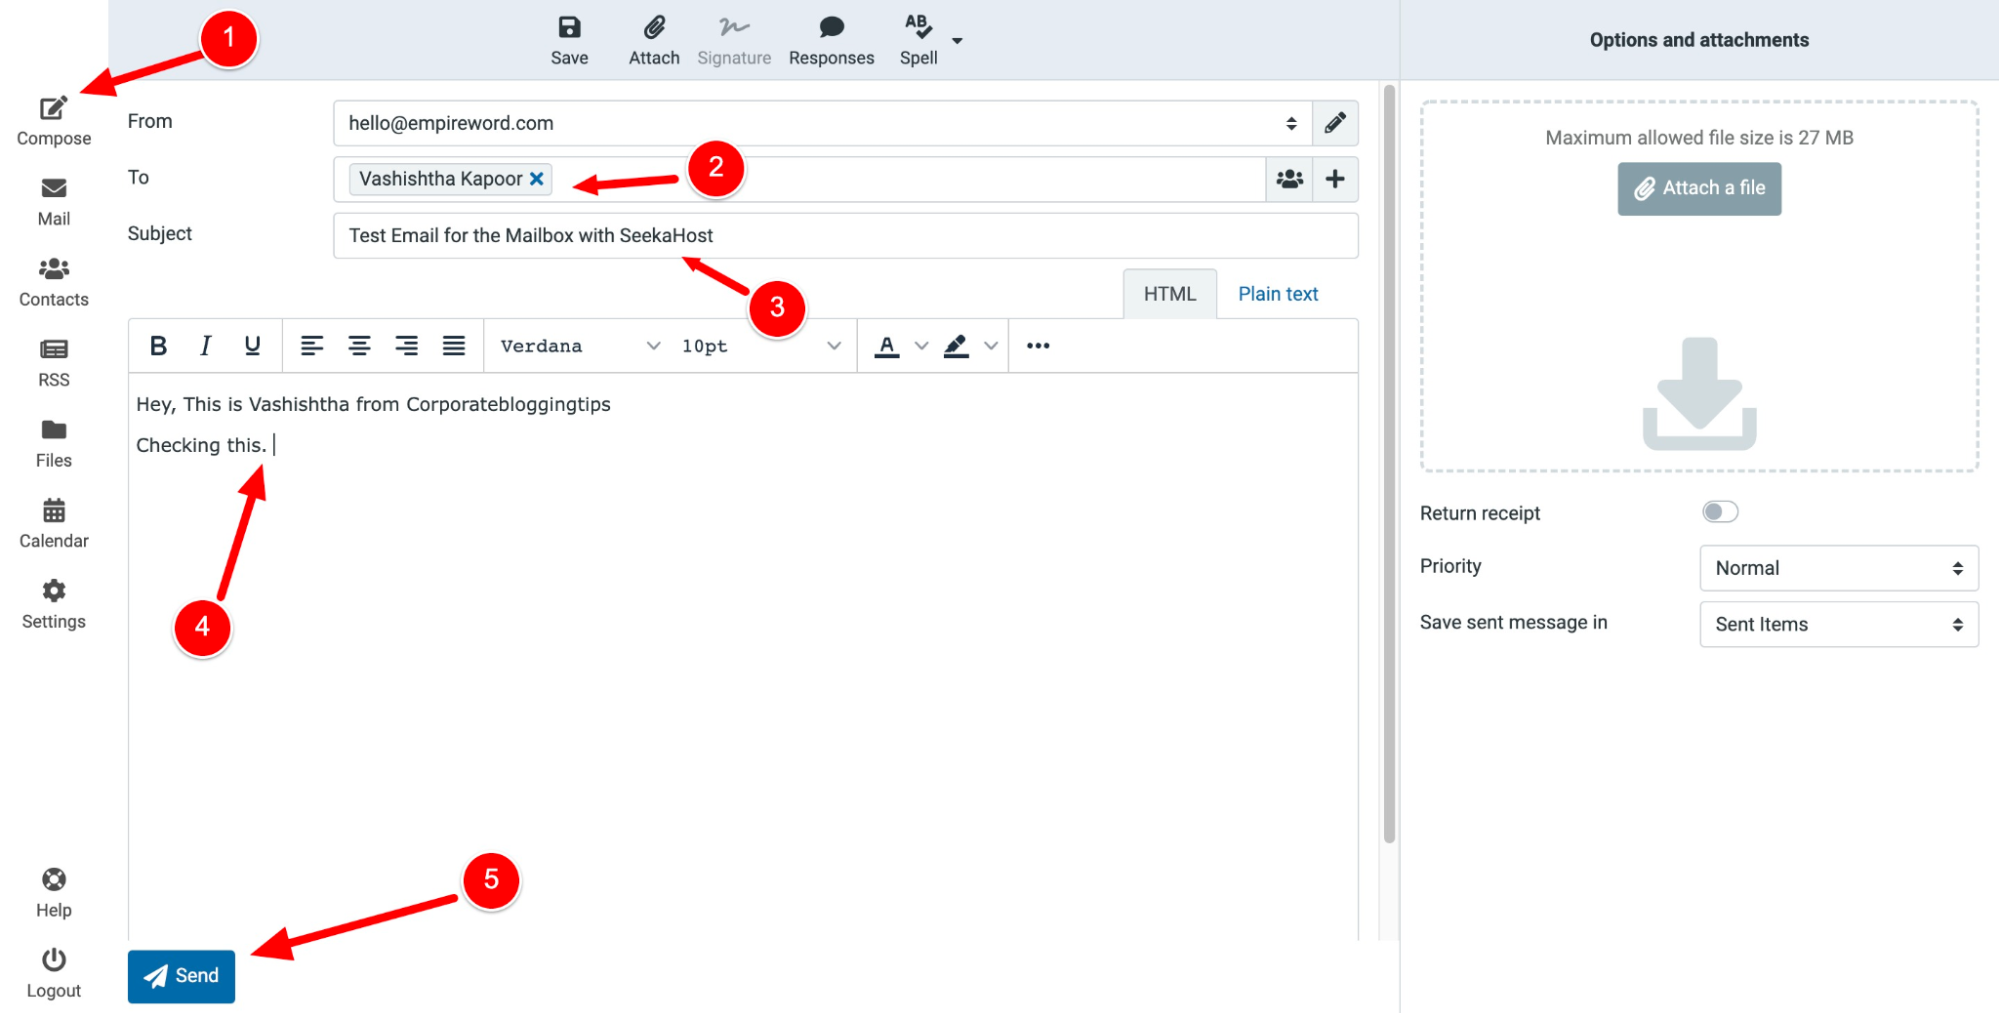
Keep the recipient’s email address as yours, so you know whether the email is working or not.
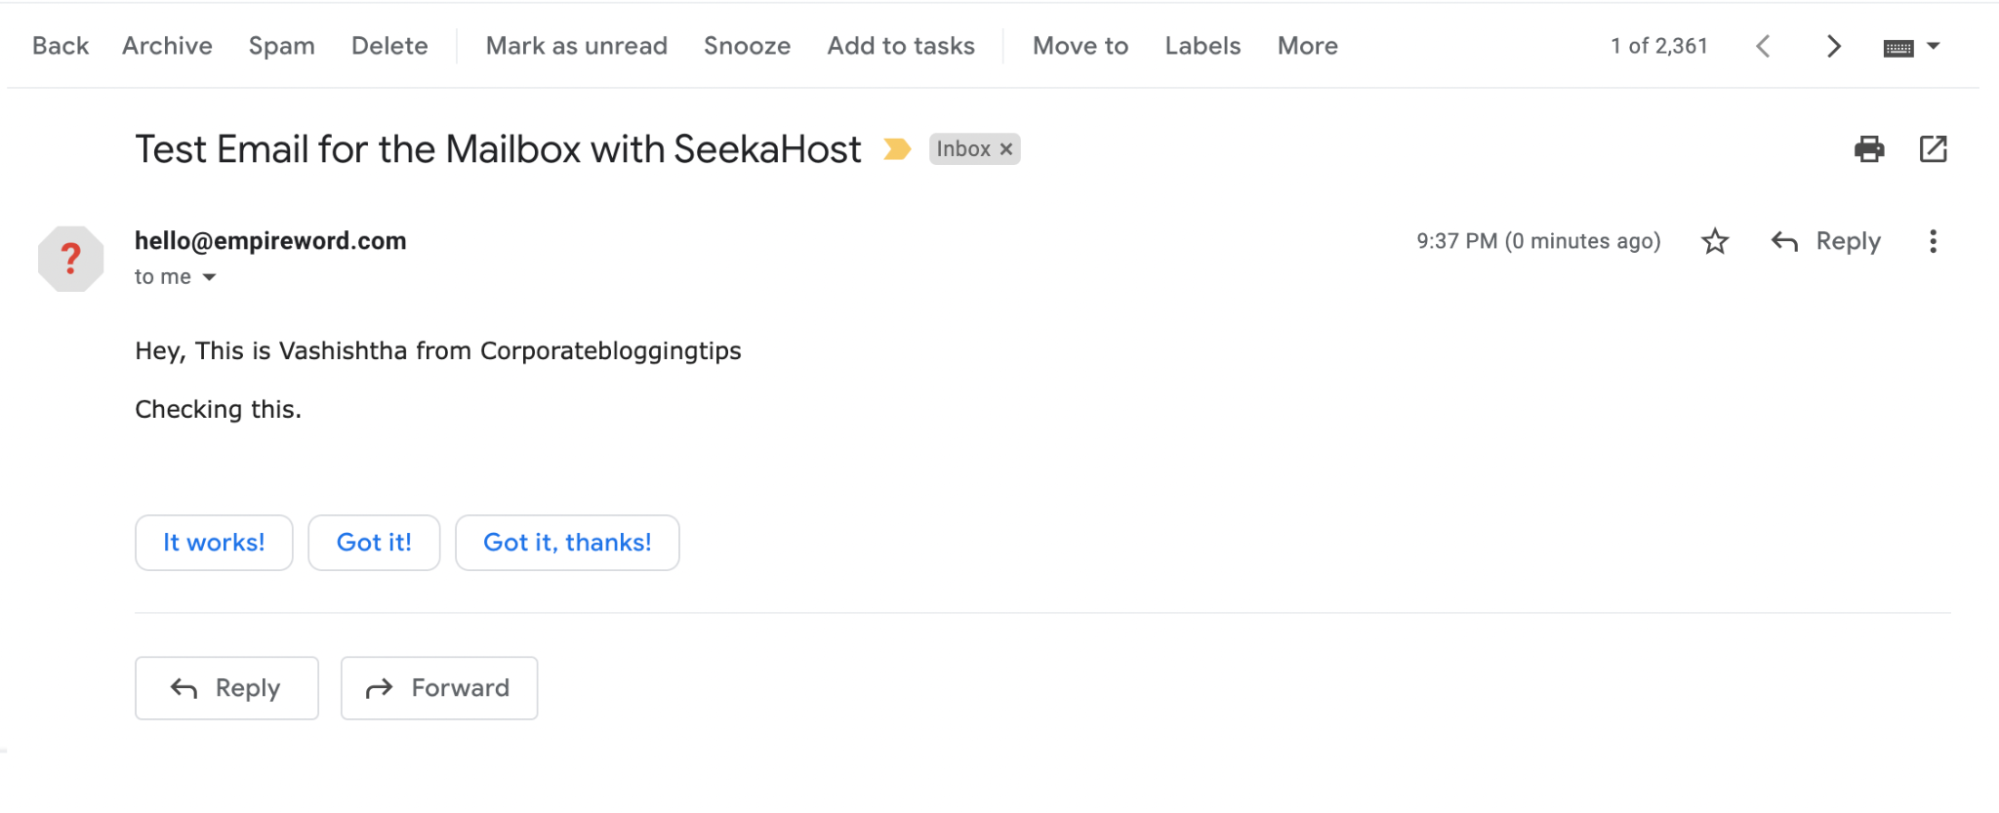
If you received an email from your business email, it means the send functionality is working properly. Now you need to check the receive functionality.
Since we have already changed the MX records, you will definitely receive emails.
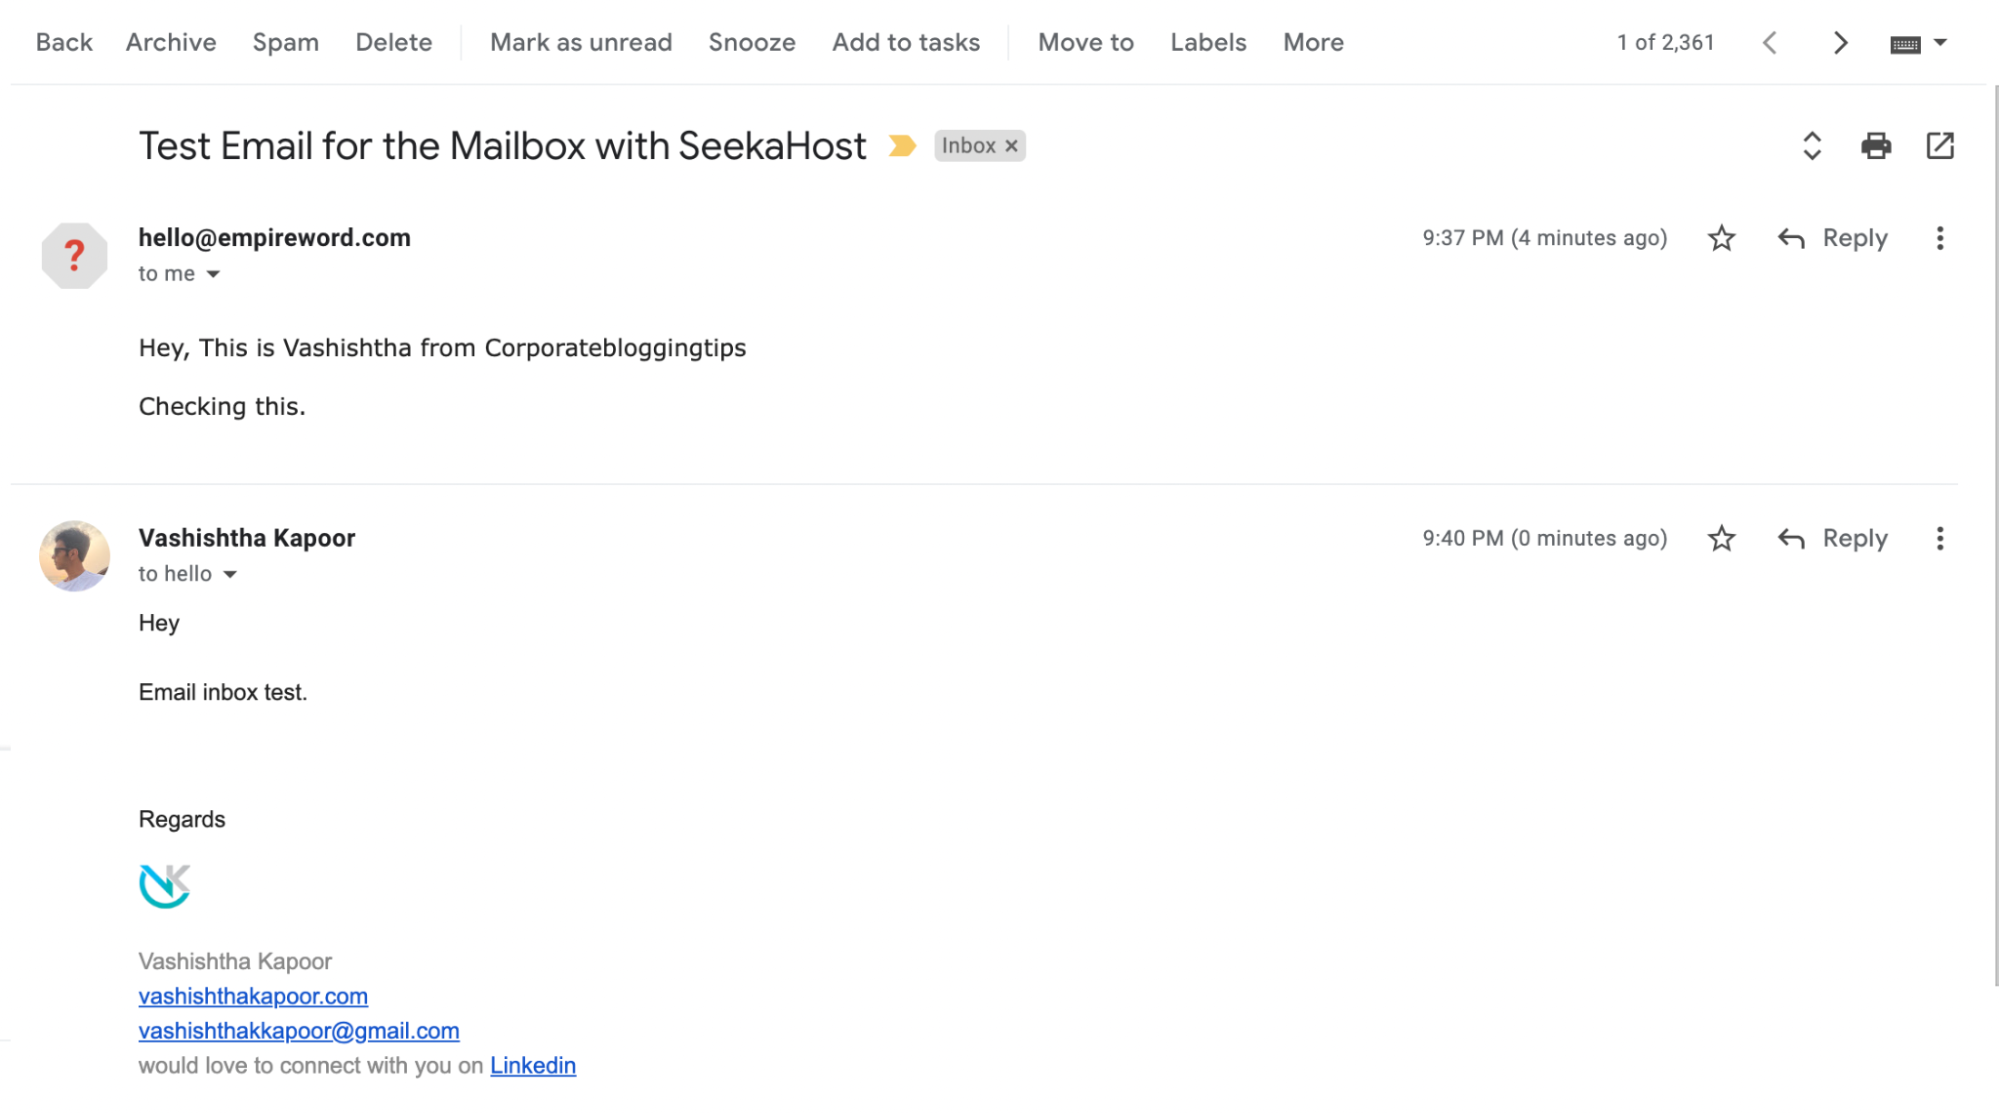
In the same email that you had sent from your business email to your existing email, reply to it.
This way you can check if you receive an email in your business email account or not.
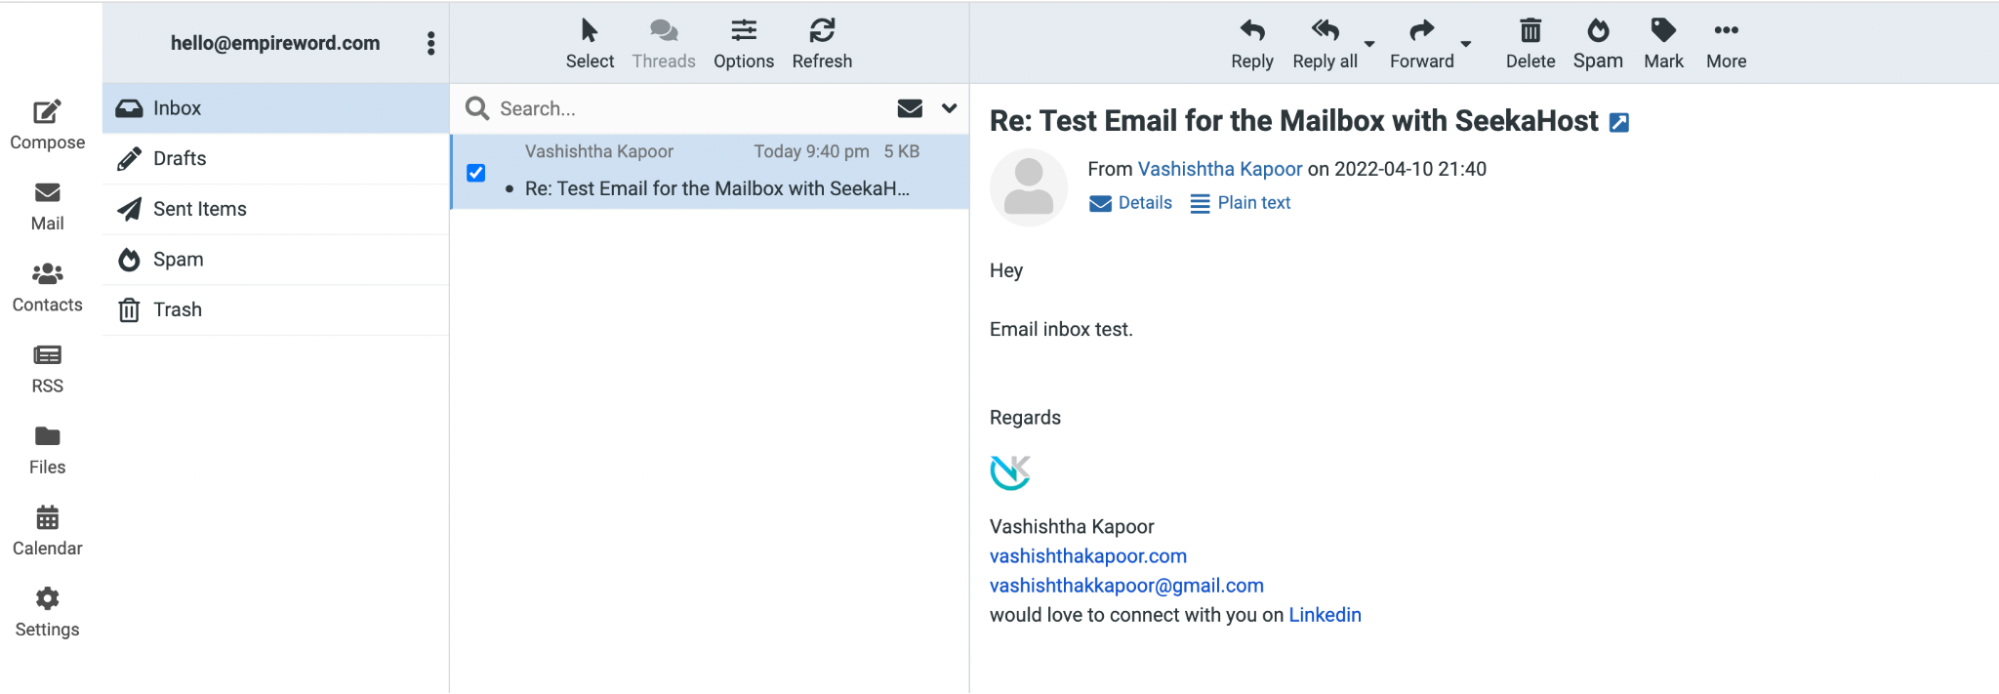
So this is how you can test your business email account and set it up in minutes.
SeekaHost.app Email Hosting Plans
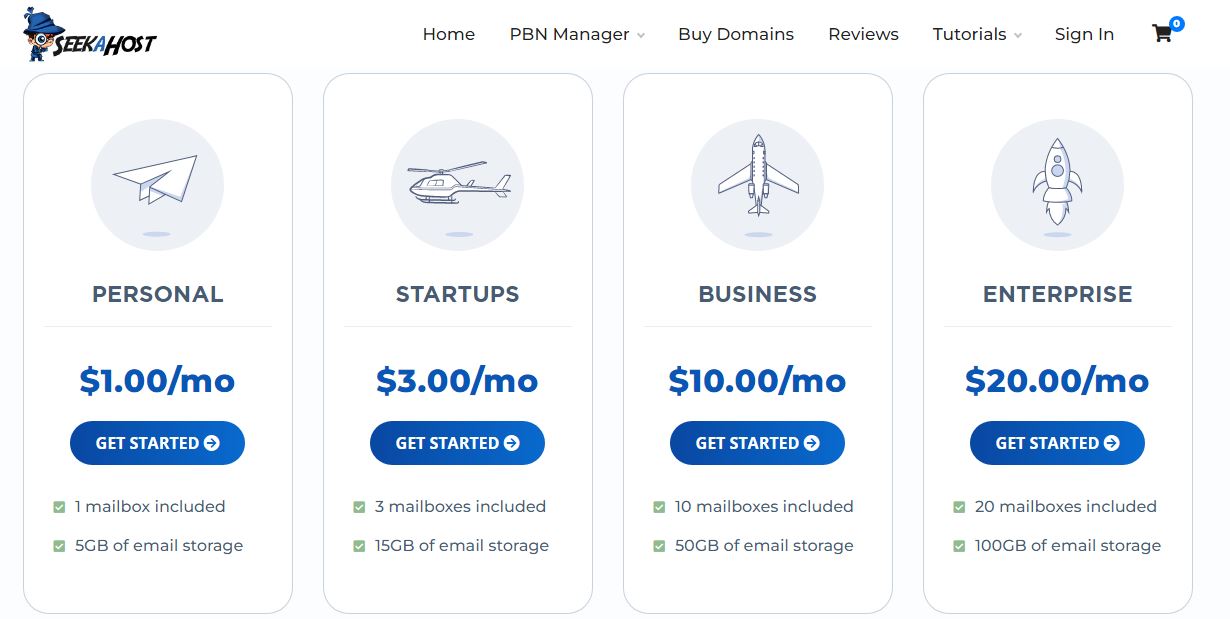
SeekaHost.app offers the cheapest email hosting service starting at $1 per month. You can choose from four different email hosting plans.
The cheapest one is the Personal plan starting at $1 per month with one mailbox included. The plan offers 5 GB of storage space.
For more mailboxes and storage space, you can choose the Startup, Business, or Enterprise plan.
If you have a single domain, then the Personal plan is sufficient.
Why Choose SeekaHost.app to Create a Business Email Account?
- It is easy to configure the email using the SeekaPanel.
- The email hosting plans are cheap starting at just $1 per month.
- Based on your requirement and budget, you can choose any plan.
- SeekaHost.app webmail is safe and secure.
- You won’t get distracted as the interface is ad-free.
- Your business email account can be integrated with third-party email accounts like Outlook, etc.
Do Read:
Conclusion
Atlas, the business email configuration is all set up and ready to operate. How did you find this tutorial on setting up business email via SeekaHost.app control panel?
Do share it in the comments box.