How to use the UpdraftPlus WordPress backup plugin to backup and move WordPress sites?

For any WordPress site, security is of utmost importance. Backing up your WordPress site is the first and foremost measure you should take.
You need automated backups set daily, weekly, or monthly. Or you should take manual backups regularly.
In this article, I will show you how to backup your WordPress site, migrate it to SeekaHost, and then restore the backup using Updraft Plus plugin.
Why Should You Backup Your WordPress site?
When a site goes down, it incurs a huge loss. This website downtime hurts the overall economy causing trillions of loss every year.
We all know that websites are vulnerable to unwanted threats. You as a website owner should take precautionary steps to ensure your site is up & running.
Some cases that cause the website to go down and lose your data are:
- Websites getting hacked and the data is destroyed.
- Your website hosted with your current hosting is not good. When the server goes down, your site goes down.
- Your staff made some mistakes and due to technical errors, your site fades away.
There might be tons of scenarios causing your website to go down and lose important data.
The best way to keep your site safe & secure is by taking regular backups.
Since WordPress doesn’t have an in-built backup solution, you, therefore, need a WordPress backup plugin. Out of many plugins, UpdraftPlus is the finest plugin.
The plugin is free to use and allows you to auto-schedule your site for backups. You can take a backup and save it on your local machine, Google Drive, Dropbox, or other options.
With further ado, let us see the steps to create and restore WordPress site backup using the UpdraftPlus plugin.
How To Create a Backup With UpdraftPlus?
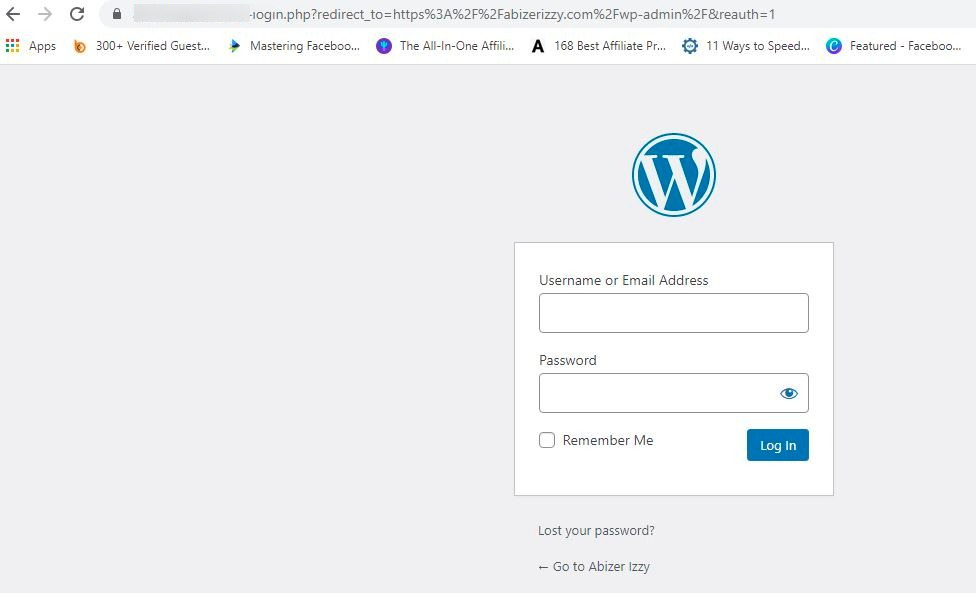
To backup your WordPress site using UpdraftPlus, you first need to log in to the backend of your site.
To log into your WordPress site, enter the site URL with /wp-admin. Use the username and password to log into your site dashboard.
Once logged in, you should now install the UpdraftPlus plugin. It’s a free plugin and can be used for a lifetime.
To install UpdraftPlus, go to Plugins > Add New and search for UpdraftPlus. The result will show you the plugin.

Here, I have already installed the plugin. But when you install it for the first time, it will show you the Install button. So click on it and let the plugin install automatically. Then activate it.
Once the plugin gets activated, go to Settings » UpdraftPlus Backups to configure the plugin for backup.
Now click on the Settings tab. In the settings tab, you can schedule the backup for automatic backups. You can set it to hourly, daily, weekly, fortnightly, or monthly.

You also need to select remote storage where you want the backup to be saved. You can backup to UpdraftPlus vault, FTP, Dropbox, Microsoft Azure, Amazon S3, Rackspace Cloud Files, Google Cloud, etc.
Tip: Never backup your files to the same location where you have your hosting. You might lose all your backup if the hosting goes down.
The free version allows you to backup at only one remote place. Using the premium version, you can backup to more than one storage.
Here, I have chosen to backup in Google Drive. You can alternatively choose any other option.
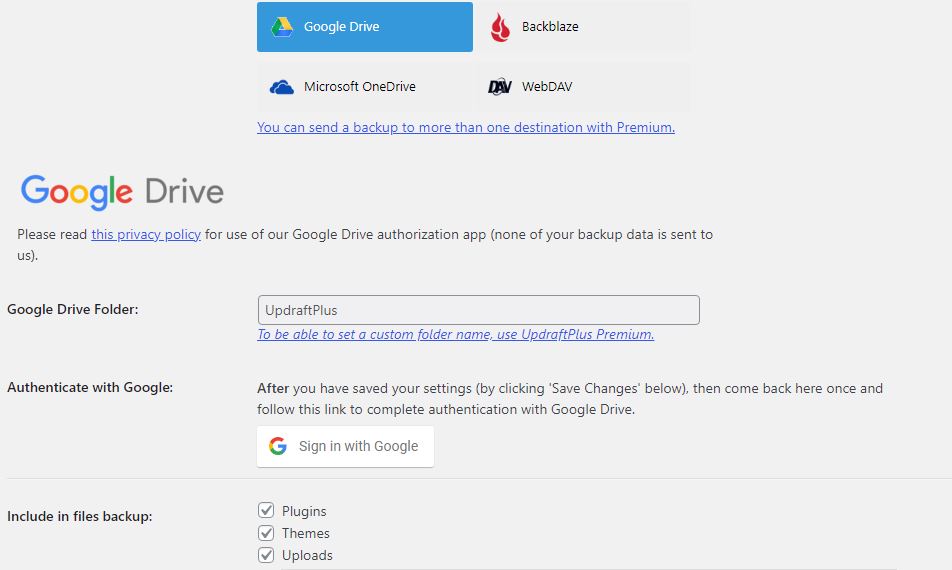
When you scroll down a little, you will be asked to choose the file types you would like to backup. This includes Plugins, Themes, Uploads, and Directories.
Tip: Back up everything as you never know when a problem might arise in any file.
Your backup schedule should be based on how often you add new content to your website. If you add one or two articles per week, then you should choose a weekly or fortnightly backup.
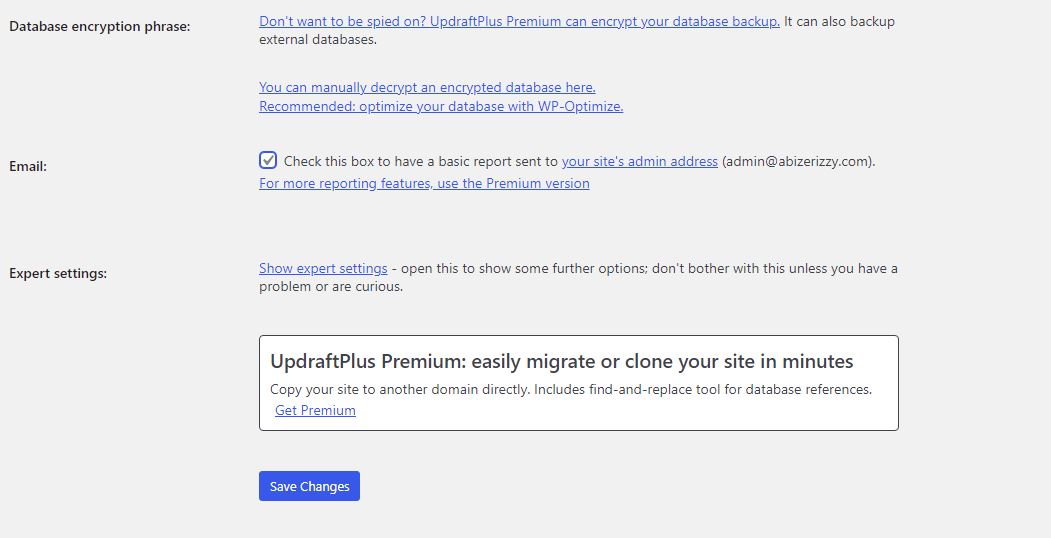
Scroll down again and check the box where it says you want the reports sent to your email. This will notify you about the backup being taken.
Finally, click on Save and UpdraftPlus will save the settings configured by you manually.
You need to give access to your Google Drive so UpdraftPlus can save the backup to your preferred Google Drive location.
I will show you how this is done.
As soon as you click on the Save button, a pop-up appears asking you to follow the link for authorization.
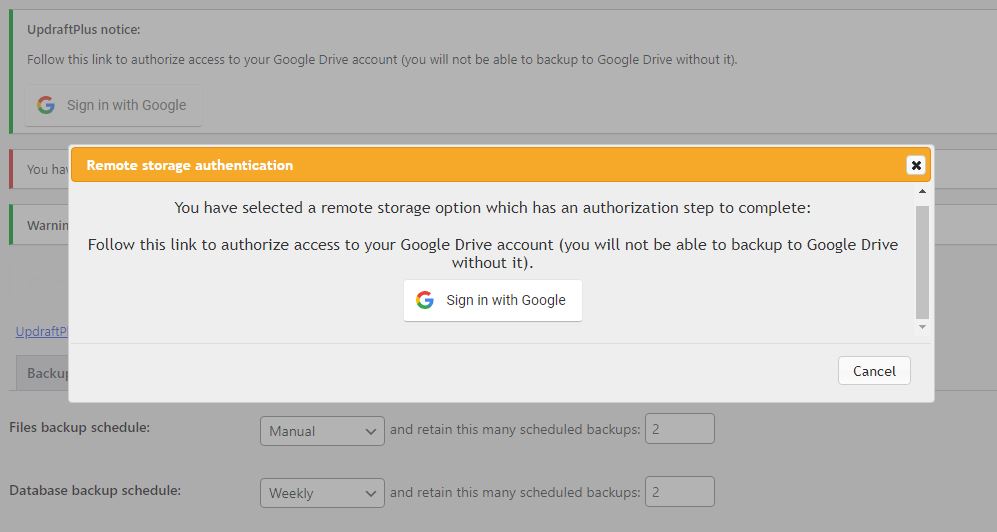
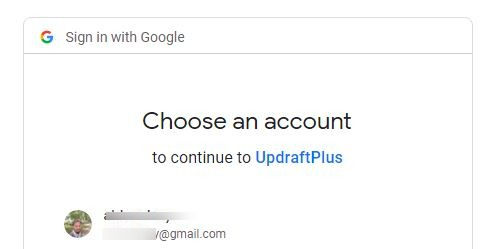
Click on Sign in with Google and choose your Google account.
UpdraftPlus will request you to access the Google account that you had just selected.
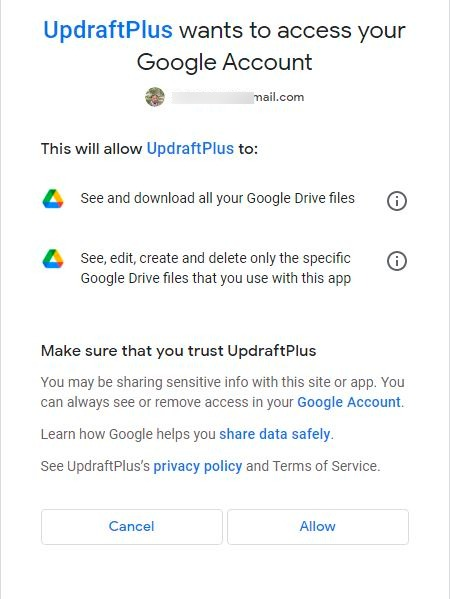
Click on Allow to permit UpdraftPlus to access your Google account. A folder named UpdraftPlus will be created in your Google Drive.
To complete the setup, click the Complete Setup button and you will be redirected to your UpdraftPlus settings page on your WordPress site dashboard.
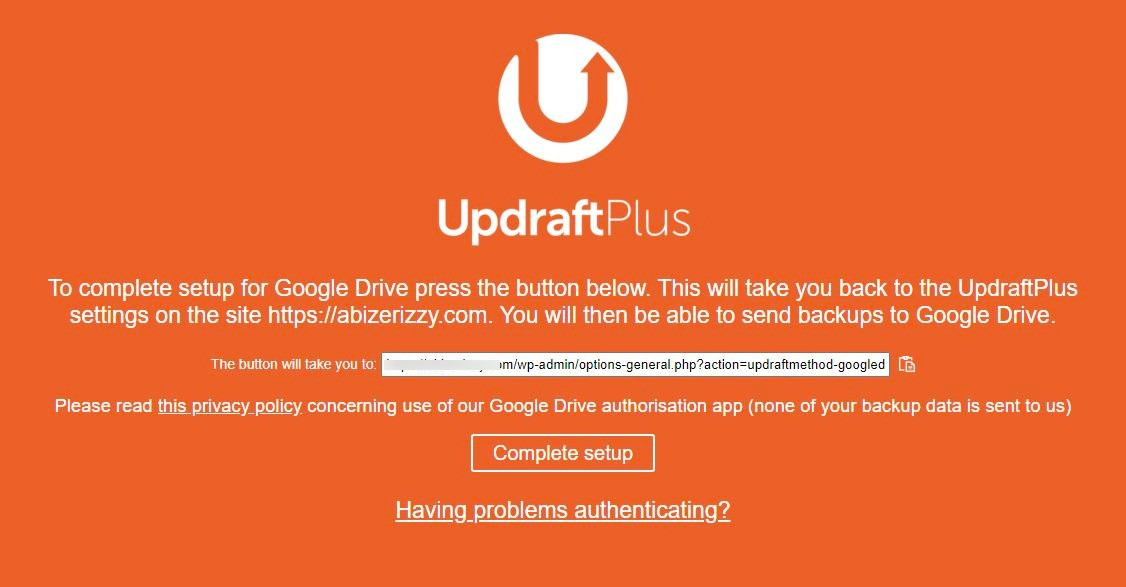
This is how you can set up UpdraftPlus to schedule automatic backups to a remote location.
How To Take Manual Backups Using UpdraftPlus?
Not just automated backups, you can also take manual backups whenever you want. So, whenever you make any changes to your website, you can take a manual backup instead of waiting for the scheduled backup.
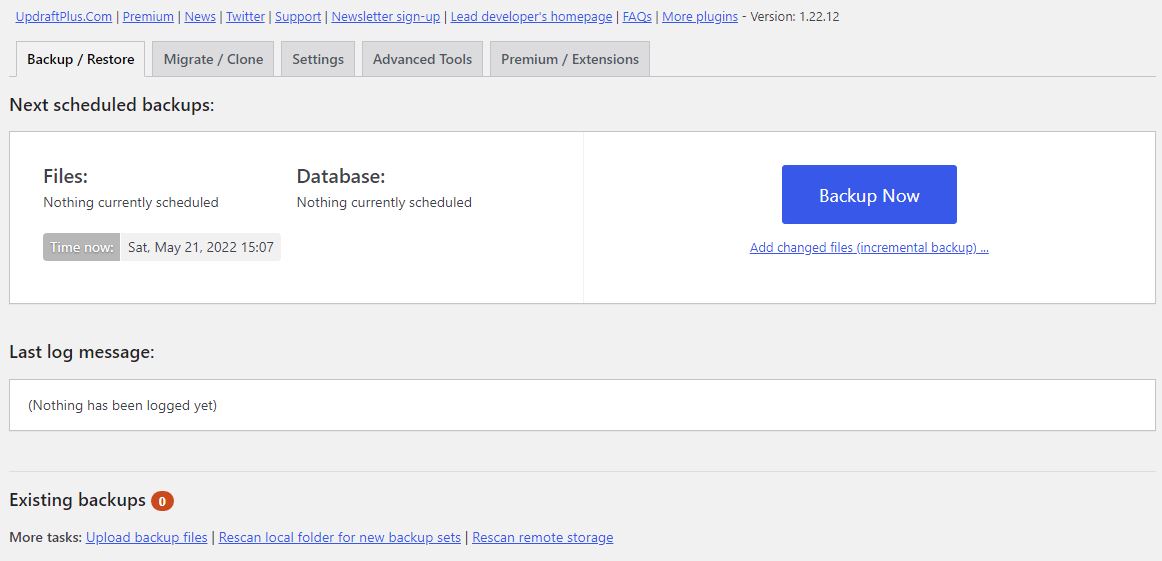
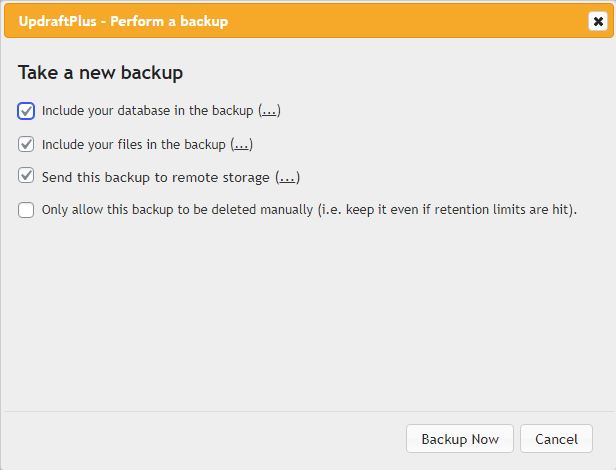
To create a manual backup, click on the Backup Now button.
A pop-up appears requesting you to check and uncheck some options. Click on Backup Now.
UpdraftPlus will now start creating a backup of your files and database.
You can see the progress on the settings page.
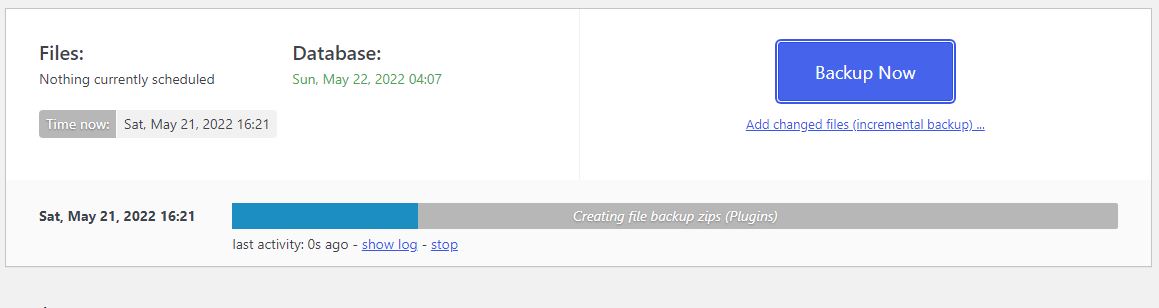
While the backup is initialized, it is recommended not to hit any button or go back. This will result in a backup error.
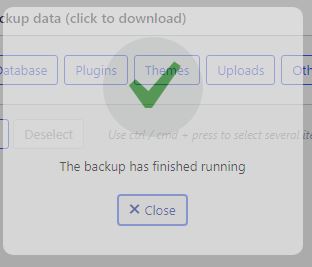
Wait for a while till the backup gets completed as it depends on the size of the files.
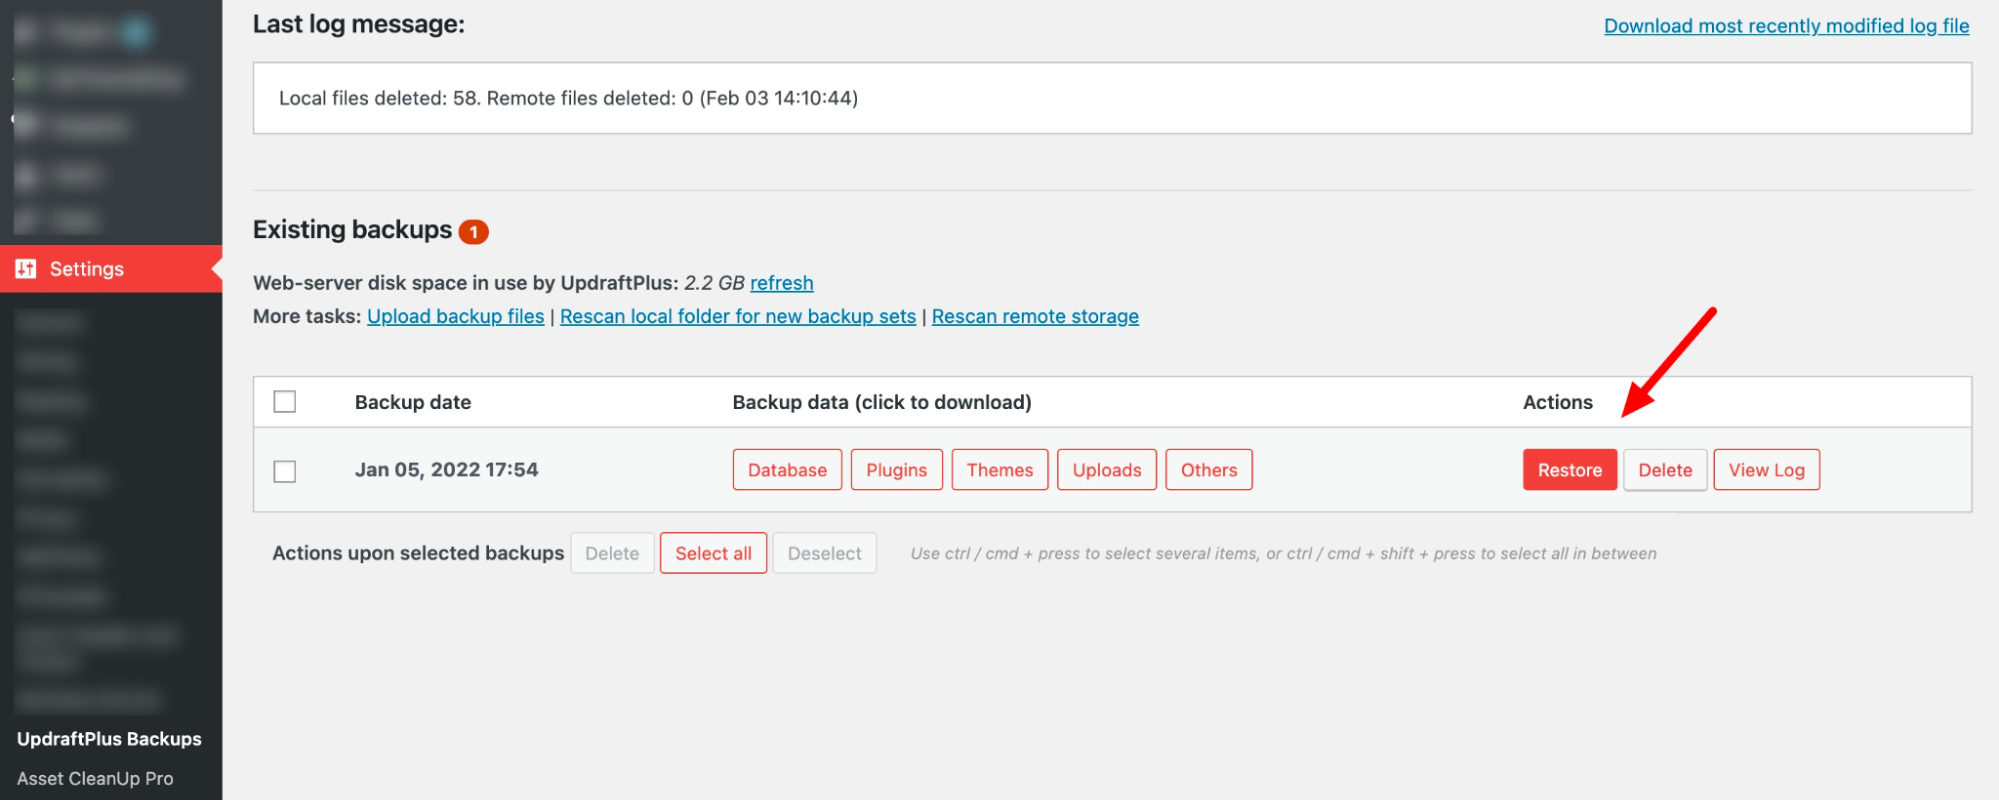
Once the backup is completed, you can see the backup when you scroll down.
In the Existing Backups, you can see the backup you took just now.
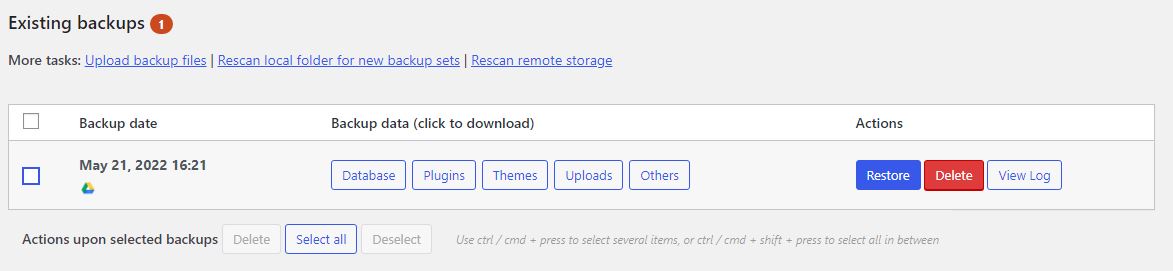
You can now download the files by clicking each of the Backup data sets.
How To Migrate Your Site Over To SeekaHost and Restore Backup?
To migrate your site from existing WordPress hosting to SeekaHost, you need a WordPress hosting plan.
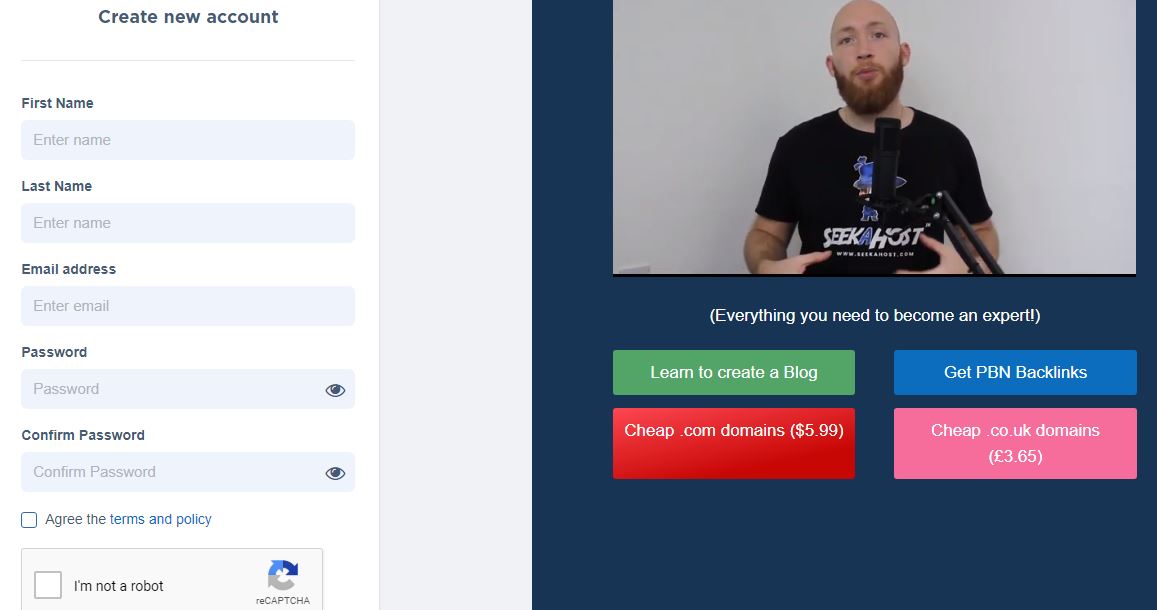
To buy a WordPress hosting plan at SeekaHost.app, create a SeekaHost account.
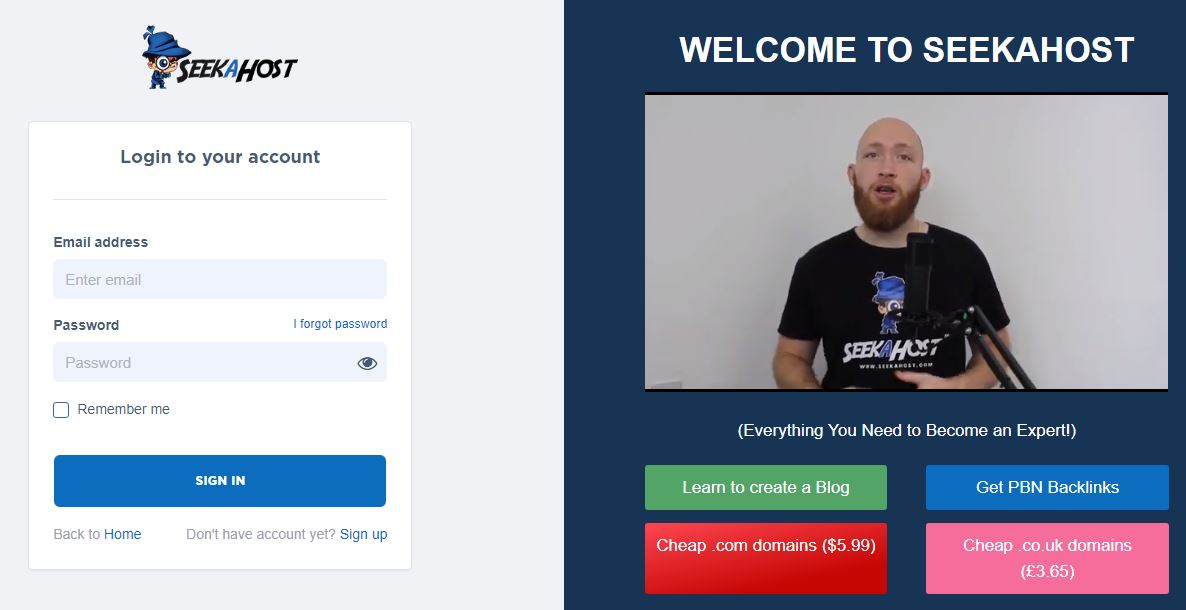
Register your new SeekaHost account using your email and other details.
Log into the SeekaPanel, and go to Hosting Plans > WordPress Hosting
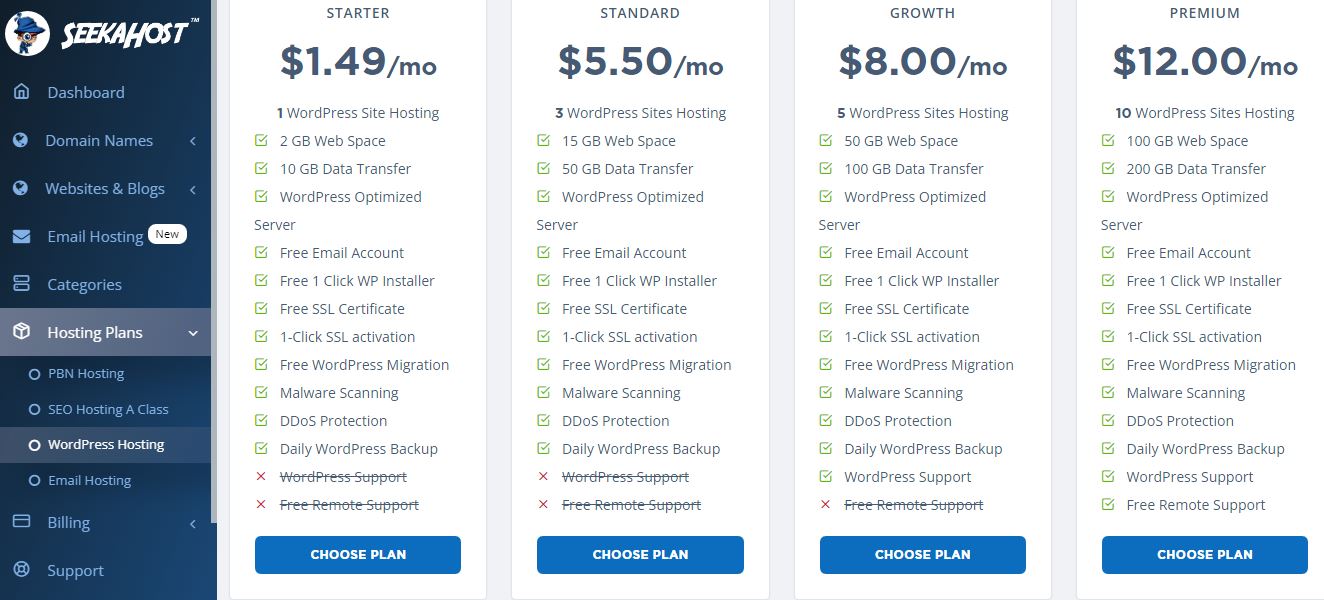
Click on Choose plan and then choose the billing term either monthly or annually.
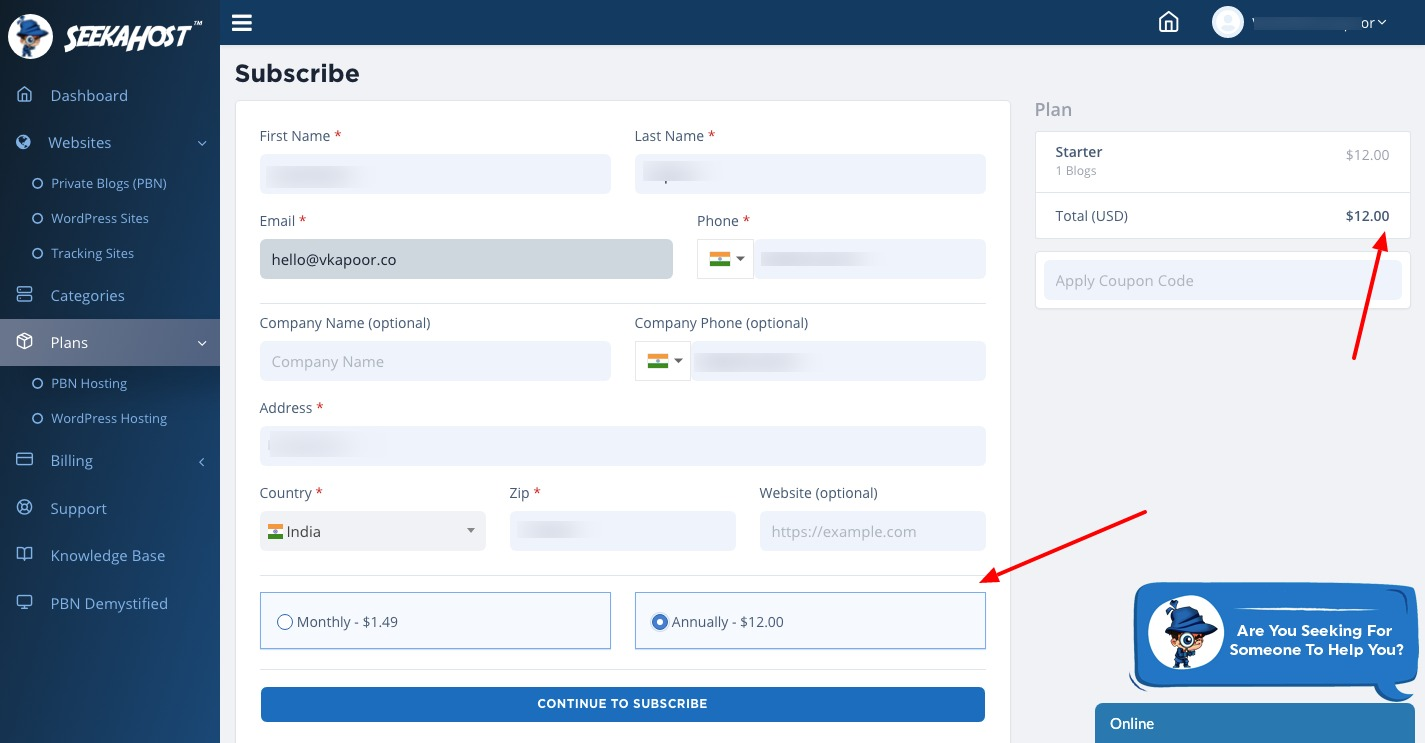
Click on Continue to Subscribe and proceed with the payment.
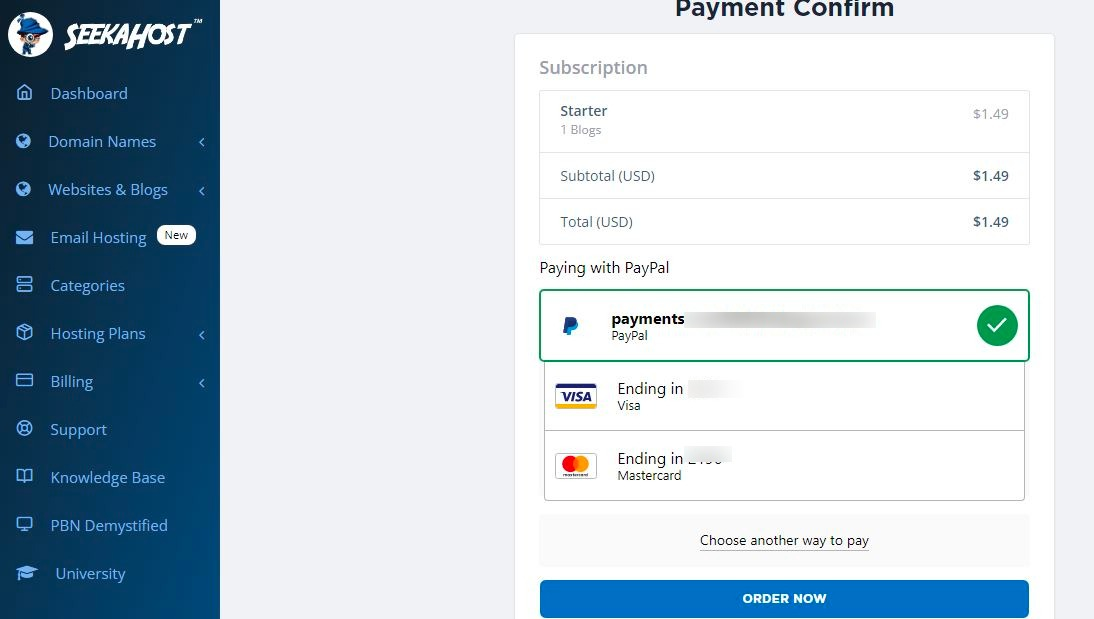
Click on Order Now and complete the payment.
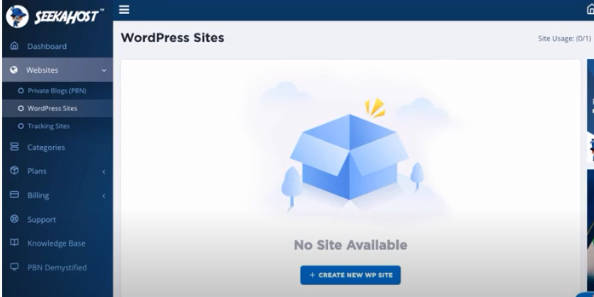
To create a WordPress site, go to Websites & Blogs > WordPress Sites. Click on Create WordPress Site button on the top right corner.
Now enter the site domain, and blog title, keep the site visible and choose your subscription. Click on Add WordPress Site.
Your WordPress site is now created and active. You should now change the nameservers of your domain.
Copy the nameservers from the SeekaHost control panel.

For changing the nameservers, go to your domain registrar, and paste the nameservers.
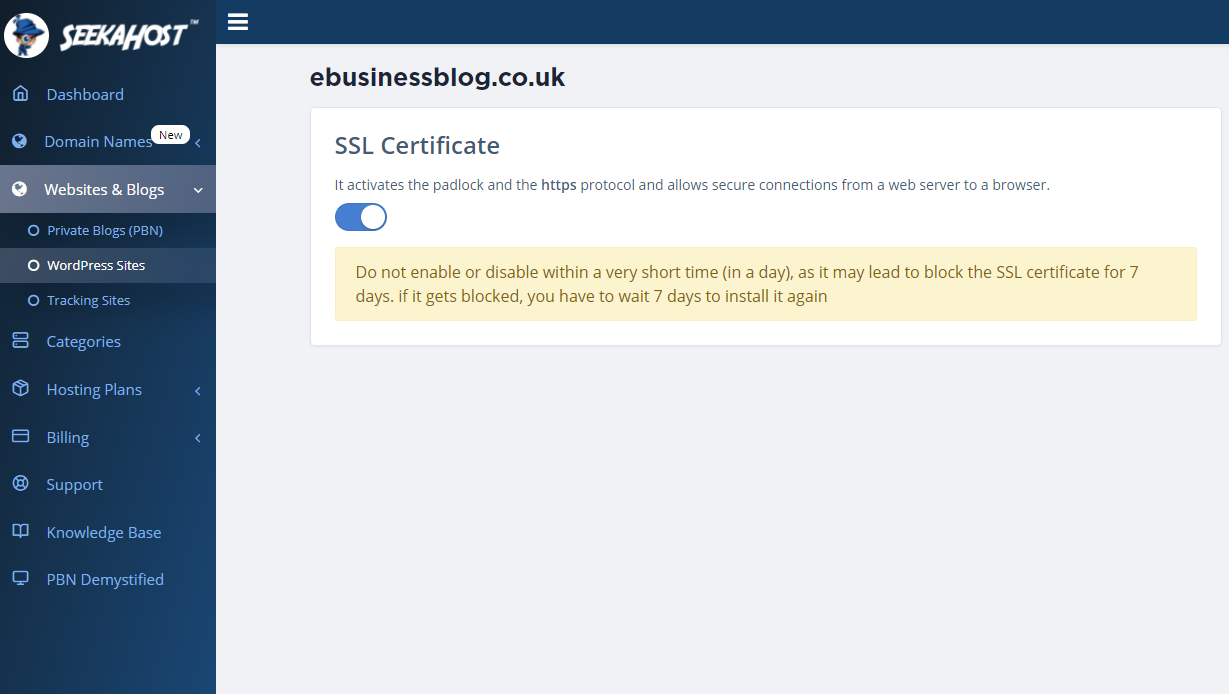
Once you have pointed your domain to SeekaHost WordPress hosting, you can activate SSL.
To activate SSL on your site go to your Domain settings > SSL. With one click, you can activate SSL on your WordPress site.
Then comes the main part of restoring your original WordPress site.
Steps To Restore Your WordPress site on SeekaHost
You have changed the nameservers, and you have activated the SSL. Now log into your WordPress dashboard hosted via SeekaHost.app WordPress hosting.
Step 1- Once logged in, install the UpdraftPlus WordPress plugin.
I have already shown you the steps to install and activate the plugin. So follow the same steps.
Step 2- To import all the files and databases, click on Upload backup files. You will find this option in settings > updraft.
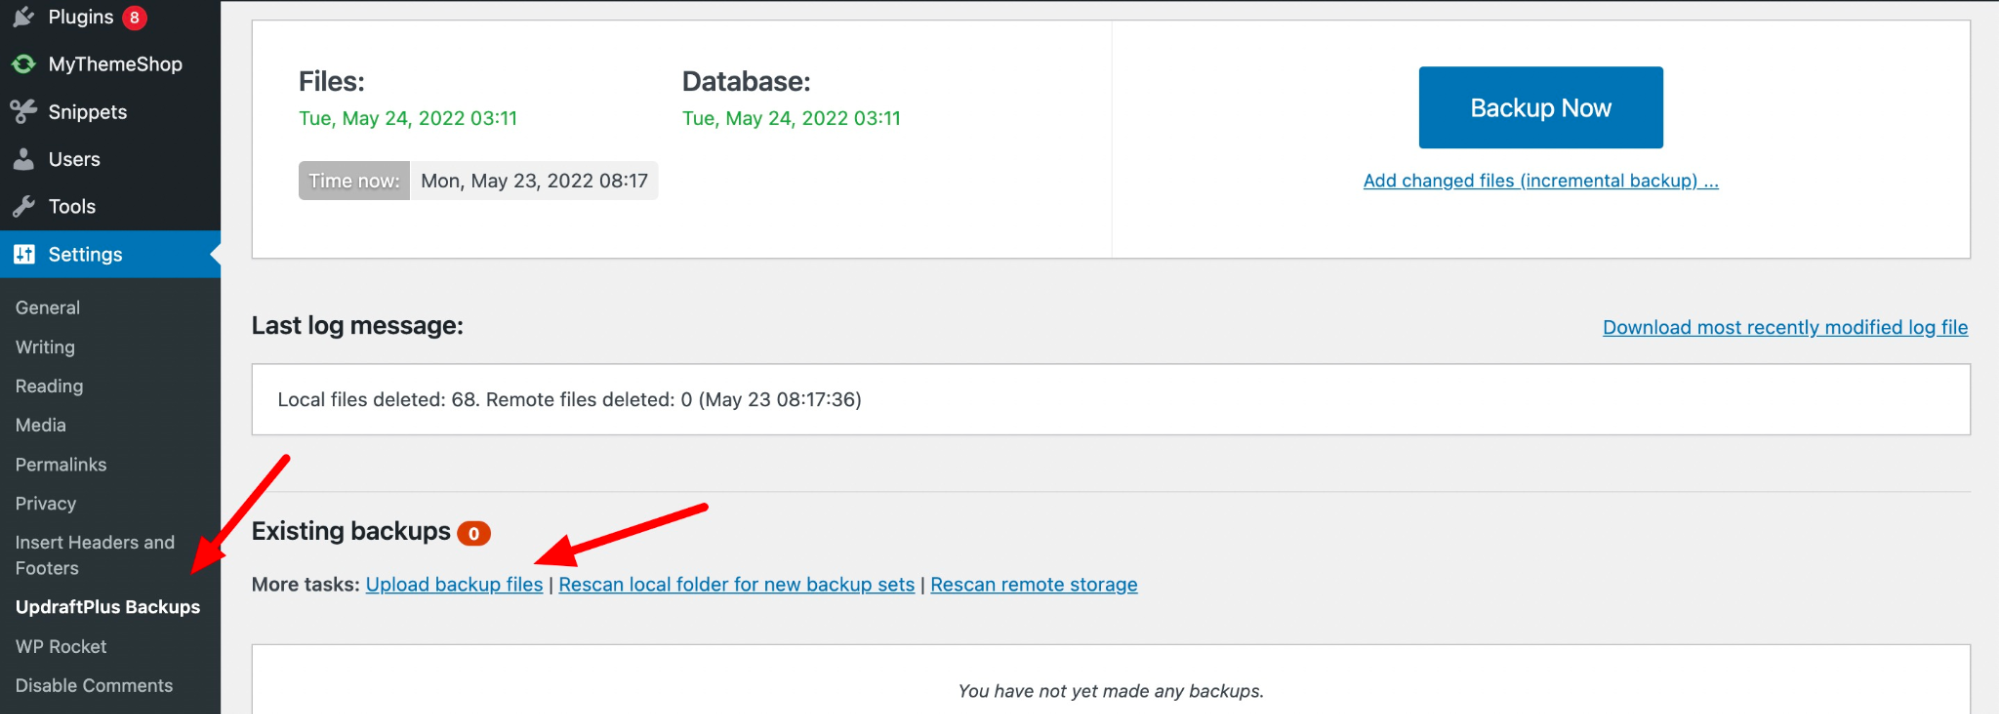
This will let you upload the backup manually and restore everything on SeekaHost.
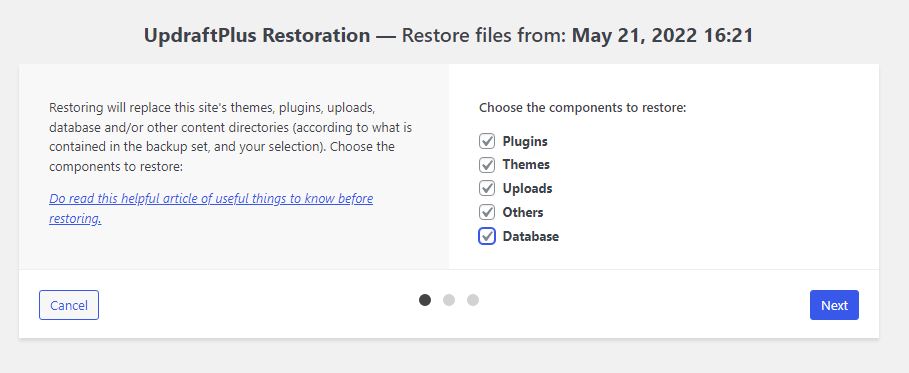
You can simply upload the backup files. Basically in 5 categories (plugins, themes, uploads, others and database). Download it from Google Drive or from your website and upload it here.
Once you upload all the files, you will get the option to Restore it. (Alternatively, you can configure the same remote storage in your new site and Rescan remote storage. This will save your download and upload time.)
Check all the boxes, and click on Next. The plugin will retrieve the backup files from the remote storage.
Your WordPress site is now live and ready on SeekaHost.
Now your WordPress site uses the user credentials of the old backup site because it has the old database only.
Conclusion
I have shown you all the steps to migrate your site to SeekaHost and to create and restore the backup using UpdraftPlus.
I hope the steps are clear and useful.